

Introduction
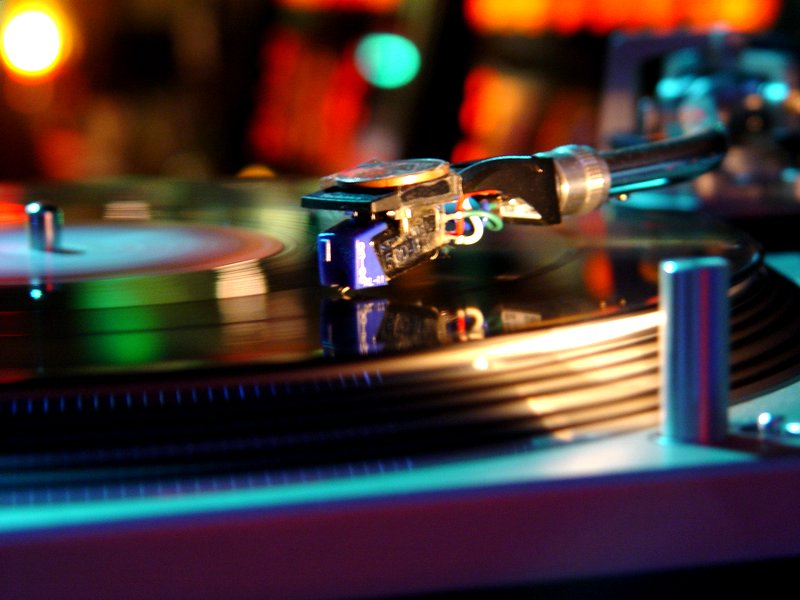
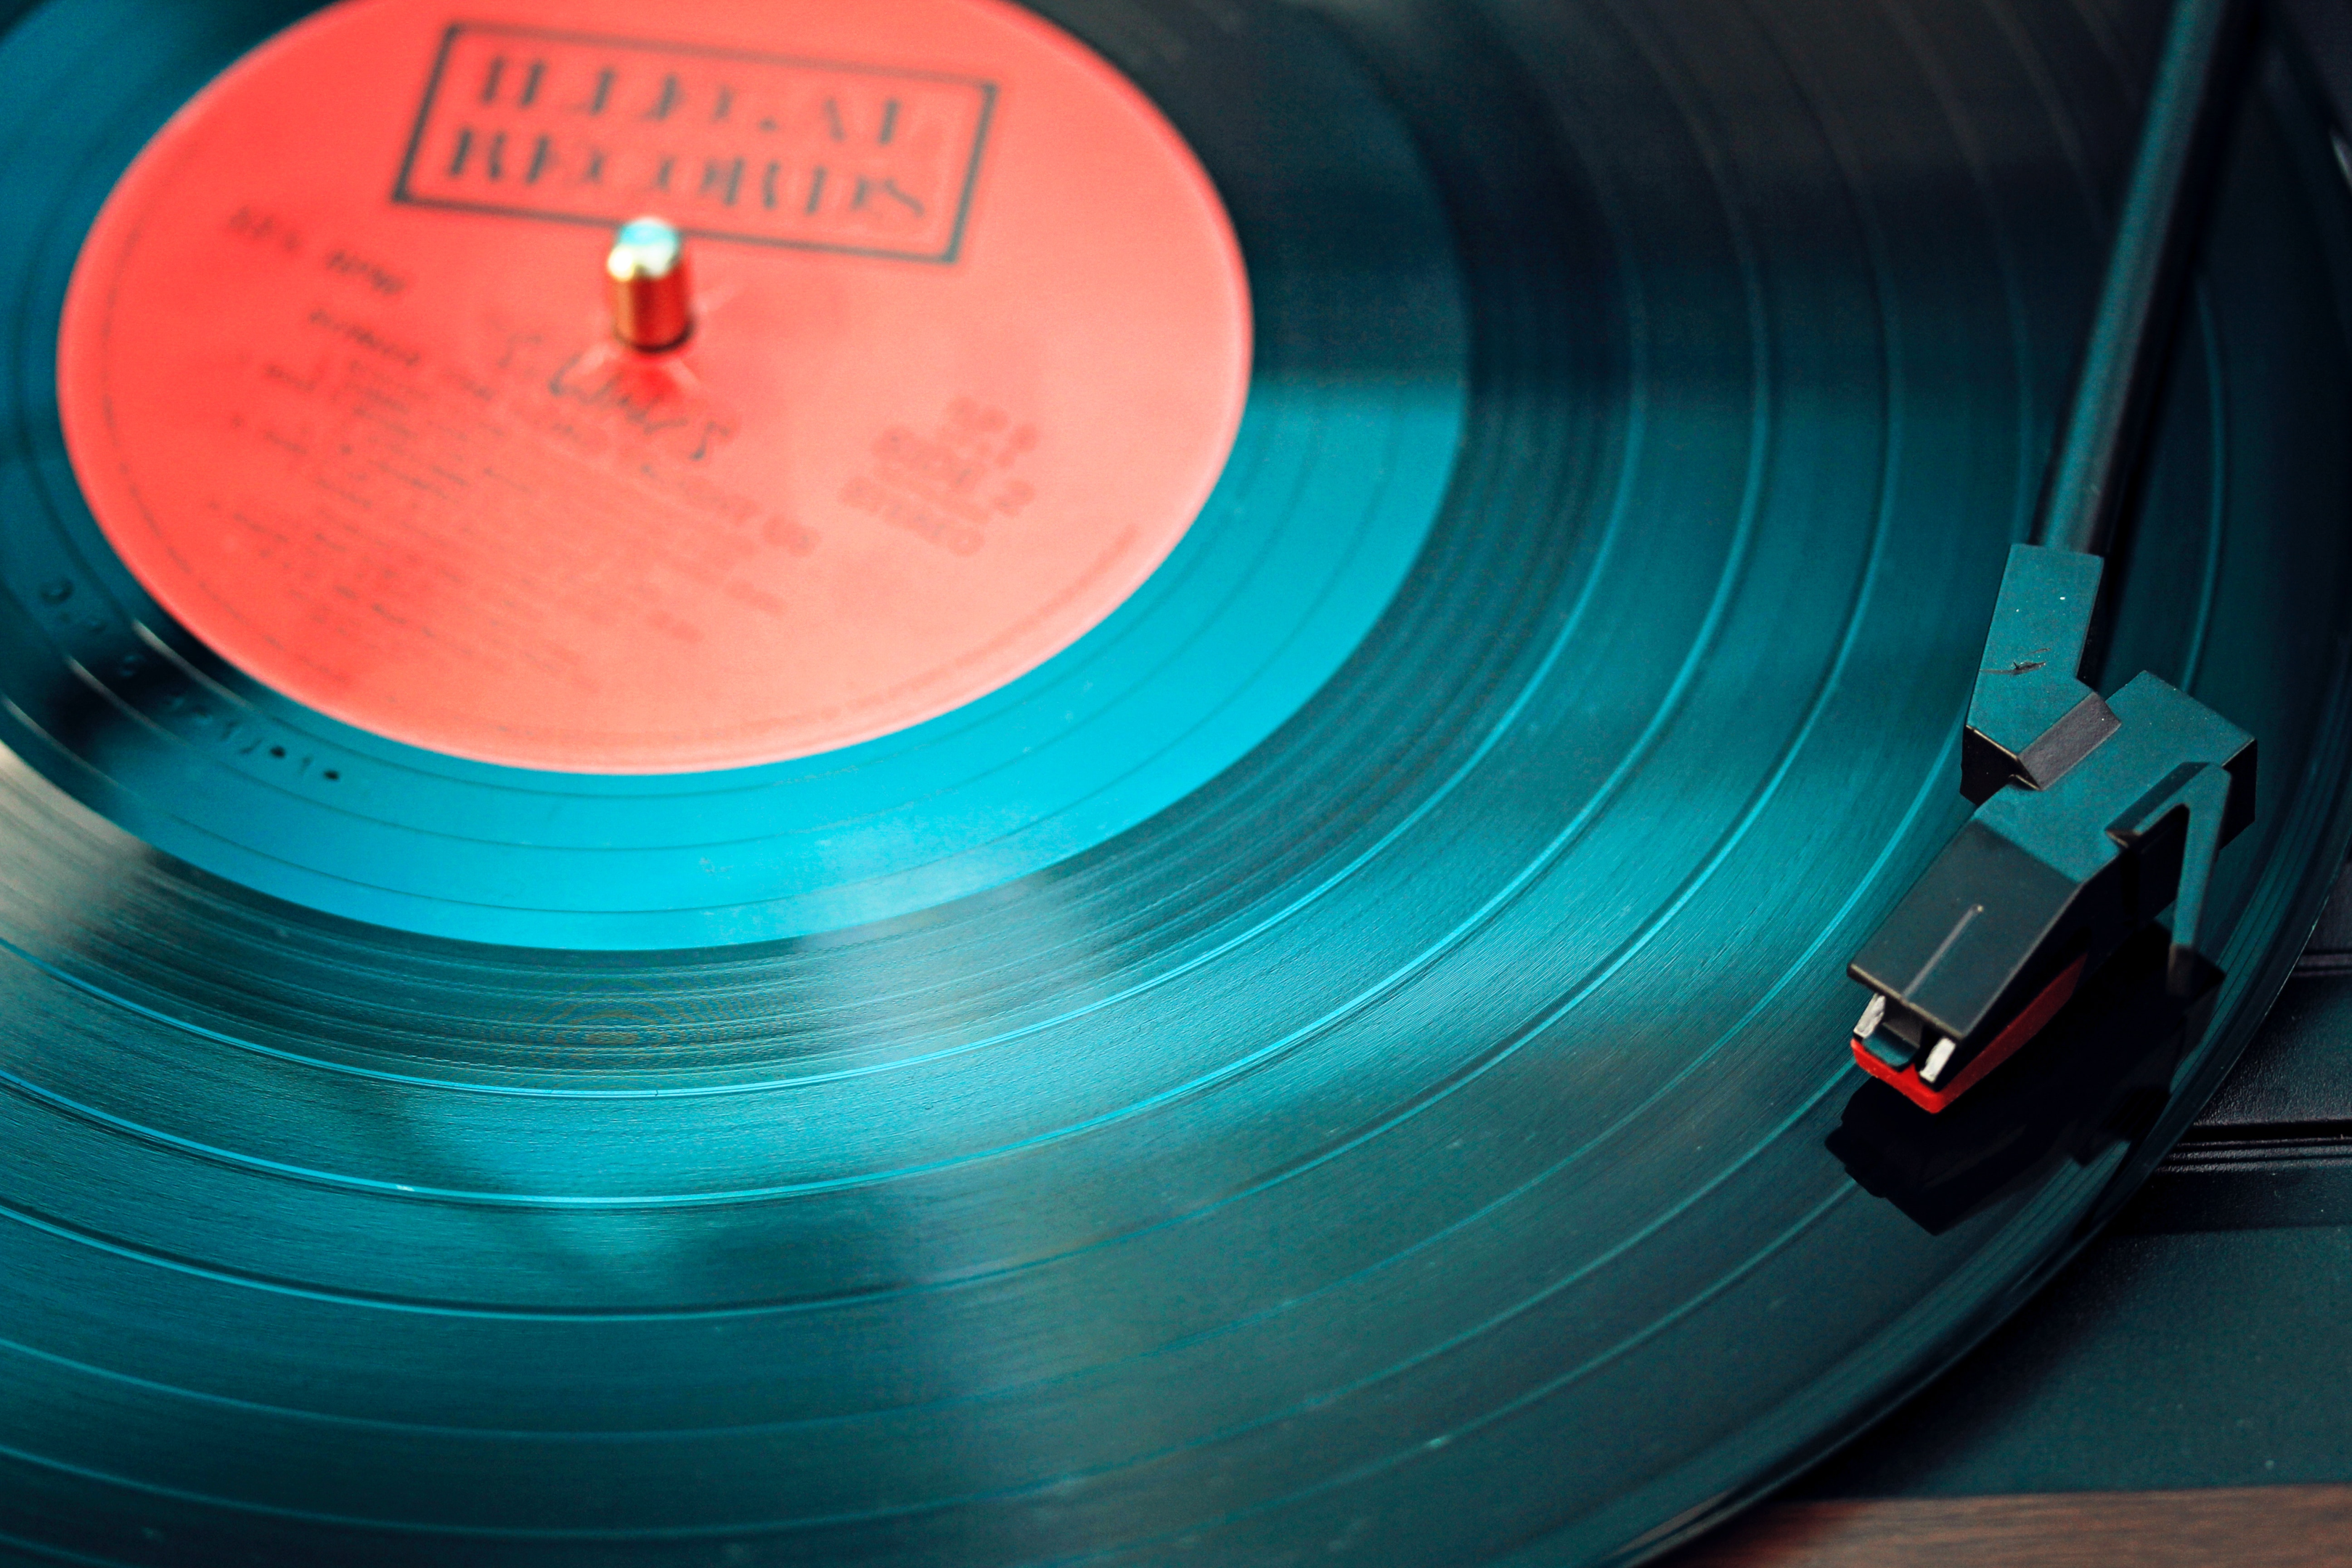
Keep your record player spinning and grooving with a timely turntable stylus replacement! The stylus, or needle, is the superstar that works its magic by gliding over your vinyl records. This tiny wonder transforms the record grooves into electrifying sound waves, bringing your favorite tunes to life. Don't miss a beat – ensure your stylus stays in tip-top shape for the ultimate listening experience!
Over time, the stylus can become worn out or damaged due to regular use, dust, debris, or mishandling. A worn-out stylus can negatively impact sound quality, causing issues such as distortion, surface noise, or channel imbalance. In some cases, the stylus may struggle to track the record grooves correctly, leading to skipping or jumping.
Beware, vinyl lovers! A damaged stylus is your record collection's worst enemy. When the stylus tip loses its shape, it can wreak havoc on your groovy tunes, digging into the grooves and causing irreversible harm. Clicks, pops, or even unplayable records – protect your vinyl gems by keeping your stylus in pristine condition!
Due to these potential issues, it's essential to replace your turntable stylus regularly and at the first sign of any problems. Regularly inspecting the stylus for visible wear and evaluating the sound quality during playback can help you determine when it's time for a replacement. By taking proactive steps to maintain your turntable and replace the stylus as needed, you can preserve the life of your vinyl records and enjoy optimal sound quality for years to come.
This article will guide you through the process of identifying when it's time for a replacement stylus and how to properly replace your record player needle.
It's important to know the signs of a worn stylus to prevent damage to your records and ensure smooth sound. Typical symptoms include skipping, distortion, and excessive surface noise. By understanding these warning signs and taking action, you can prolong the life of your records and enjoy better sound quality.
When to Replace Your Turntable Stylus
Did you know that most styli groove along for a cool 800-1000 hours before they need a break? But don't spin your wheels – your turntable's model and brand could shake things up. So, grab that owner's manual or hit the web to uncover your stylus's ideal replacement rhythm. Keep the good times rolling and the tunes flowing!
Several factors can affect the wear and tear of your record players and your stylus, including the cleanliness of your records, the condition of your turntable, and the quality of the stylus itself. Proper care and maintenance of your record player can extend the life of your stylus and improve overall sound quality.
The frequency of turntable stylus replacement depends on how often you play music on your record player. If you're an avid vinyl enthusiast who plays records daily, you may need to replace your stylus more frequently than someone who only listens occasionally. It's essential to monitor your needle's condition and replace it as needed to maintain optimal performance.
Identifying the Need for Replacement
Common Symptoms of a Worn Record Player Needle
A worn record player needle can cause a range of issues that affect the listening experience and potentially harm your vinyl records. As the stylus wears down over time, its ability to accurately trace the record grooves diminishes, leading to several problems. If you notice any of the following symptoms, it's time to consider replacing your stylus:
Poor sound quality: A worn stylus may struggle to accurately reproduce the audio within the record grooves, leading to a loss of detail, clarity, and balance. You might notice that the highs become muffled or the bass loses its punch. This degradation in sound quality can significantly impact your listening experience.
Skipping: When the stylus is unable to follow the record grooves correctly, it may skip or jump across the surface of the record. This can be frustrating, as it interrupts the flow of the music and may even damage your vinyl records.
Distortion: A damaged or worn stylus can cause distortion in the audio output. This may manifest as crackling, hissing, or other unwanted noises that detract from the overall listening experience. Distortion can also occur if the stylus is unable to track the left and right channels of the record accurately, leading to an unbalanced stereo image.
Excessive surface noise: Surface noise refers to the low-level background sounds produced when the stylus interacts with the vinyl record. While some surface noise is normal, a worn stylus can exacerbate these sounds, making them more prominent and distracting during playback.
Increased record wear: Using a worn stylus can cause permanent damage to your vinyl records. The damaged tip may scrape or gouge the delicate grooves, leading to clicks, pops, or even rendering the record unplayable over time. Replacing the stylus at the first sign of wear helps protect your record collection and maintain its value.
Also check out: Discover how to tackle common turntable problems and keep your vinyl setup in top condition with this comprehensive guide on crucial steps to repair common issues with your turntable. Dive in and become an expert at maintaining your beloved record player!
How Poor Sound Quality Indicates Stylus Issues
Hold up, sound aficionados! Is your vinyl losing its groove with muffled details and noisy interruptions? Sounds like your stylus might be crying out for a fresh start. Swap that needle and bring back the crisp, clear tunes your records deserve.
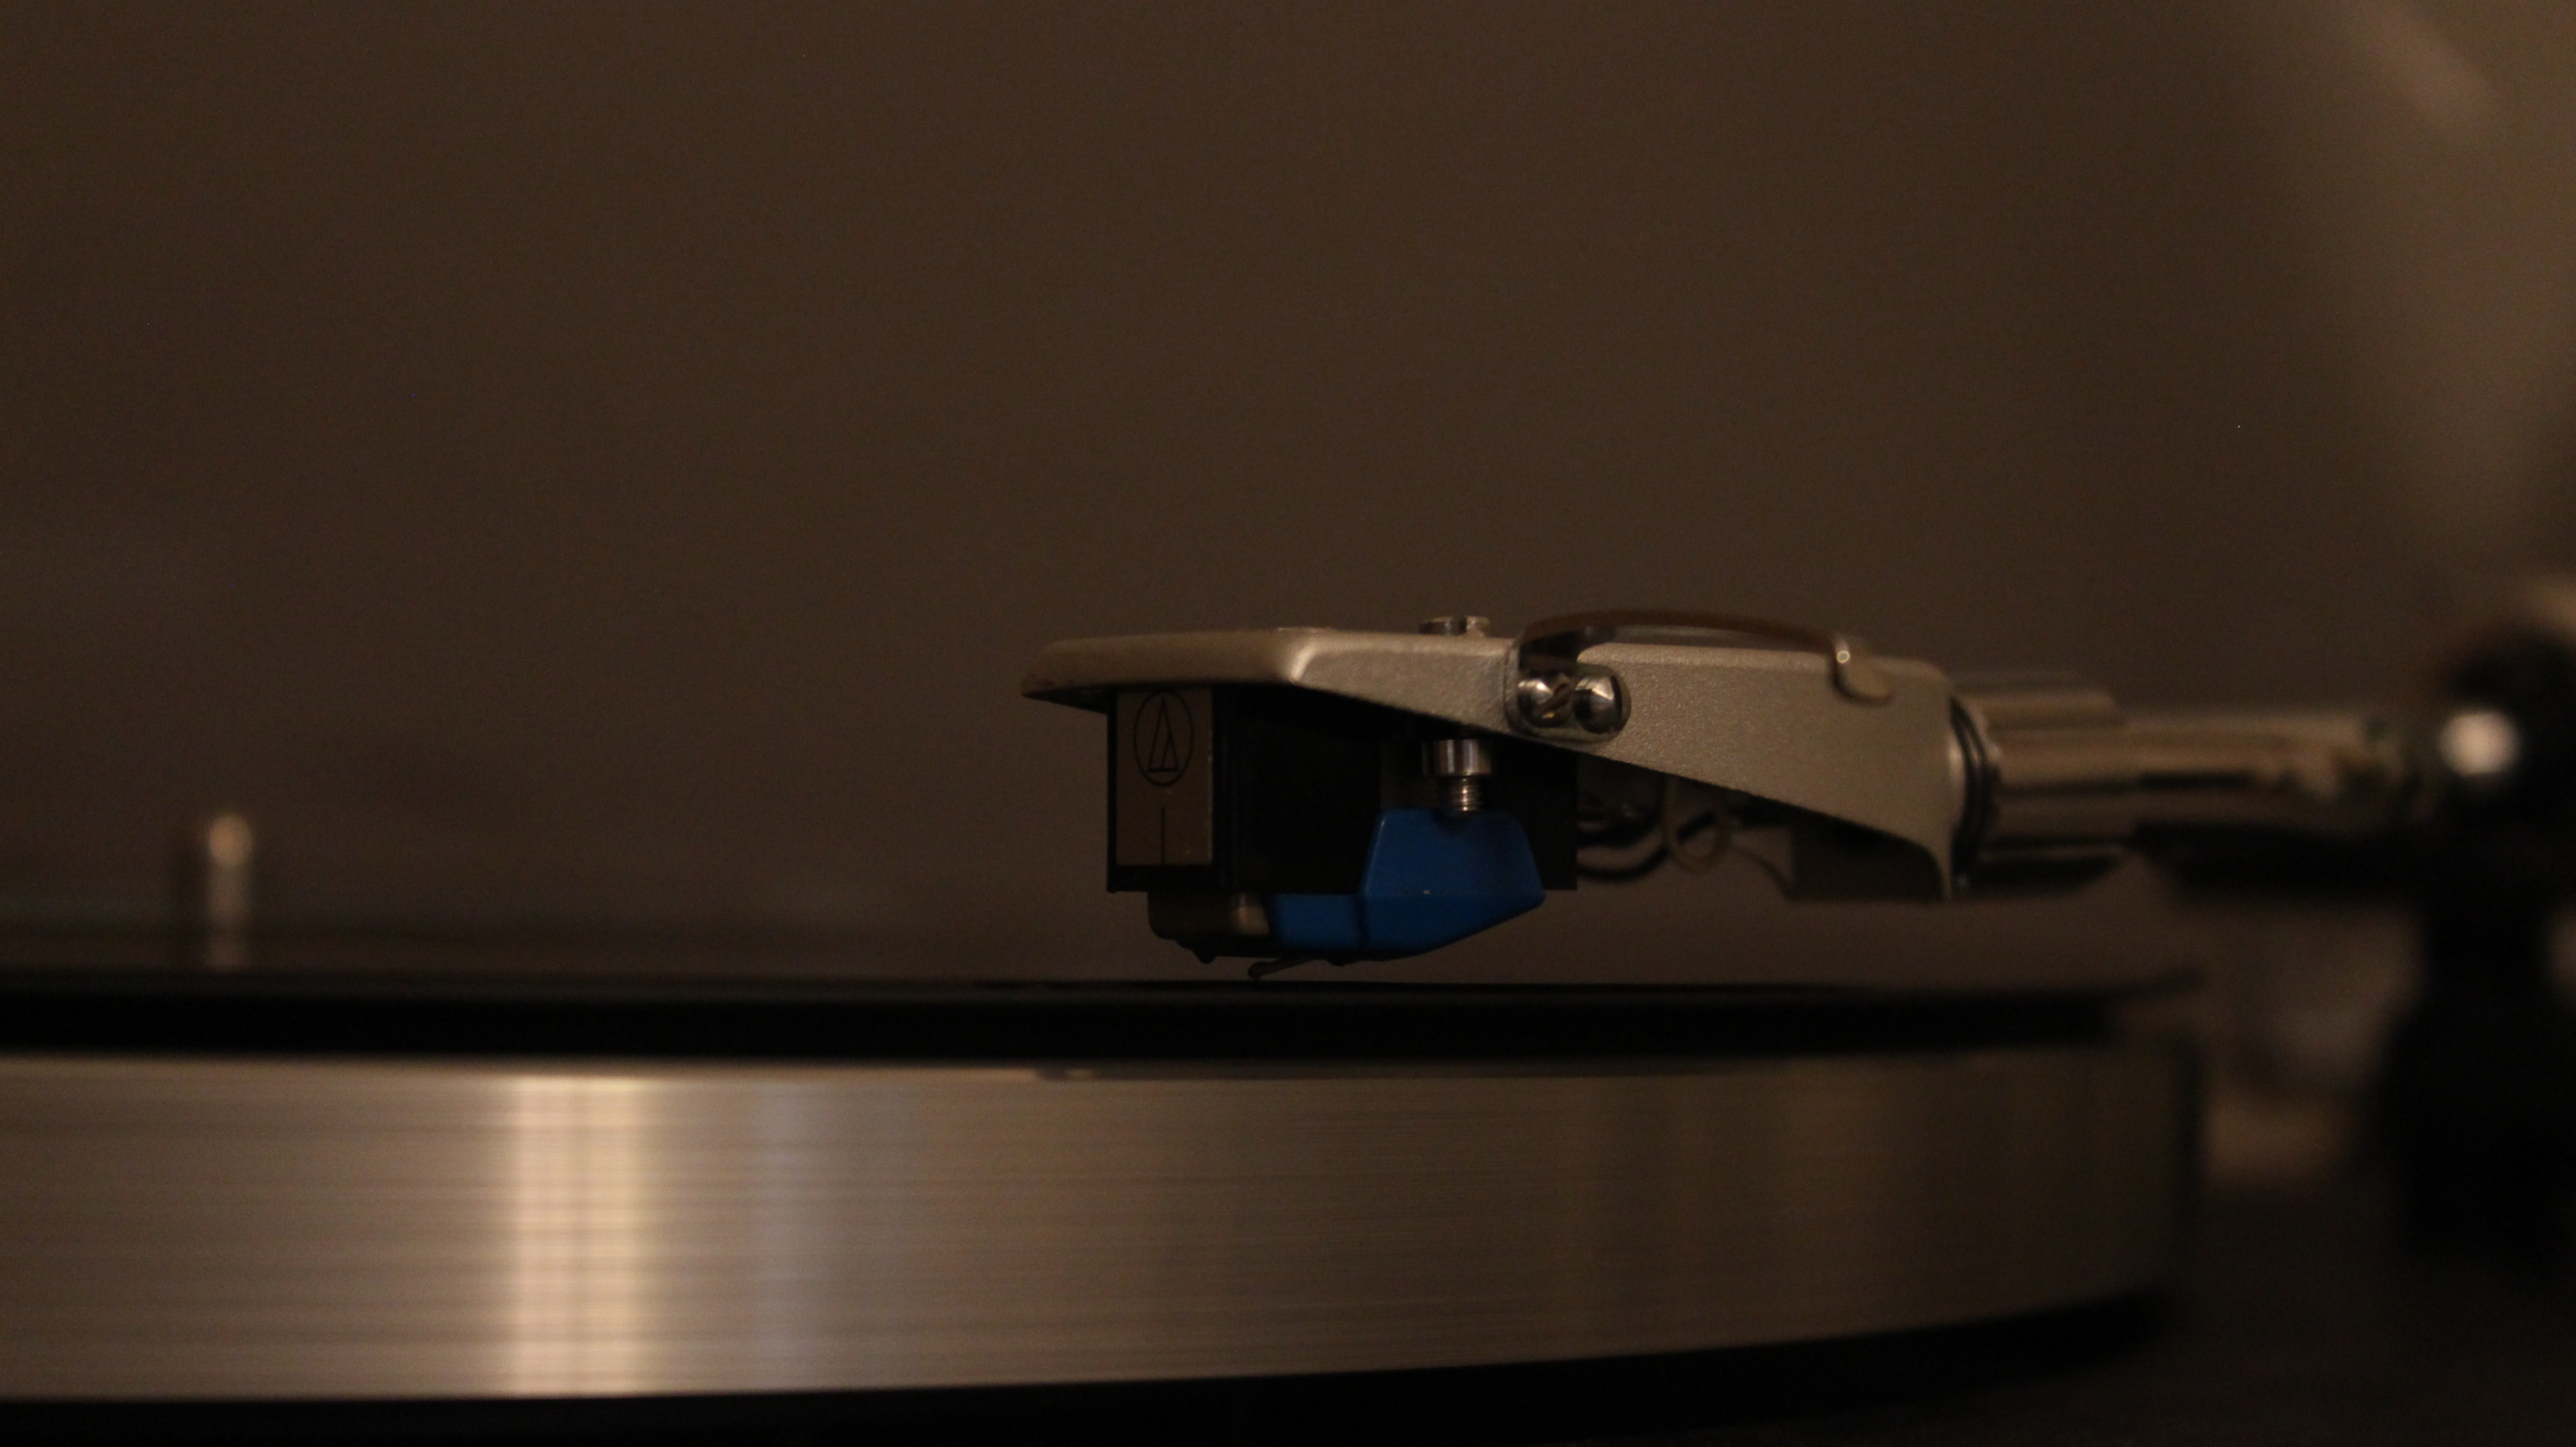
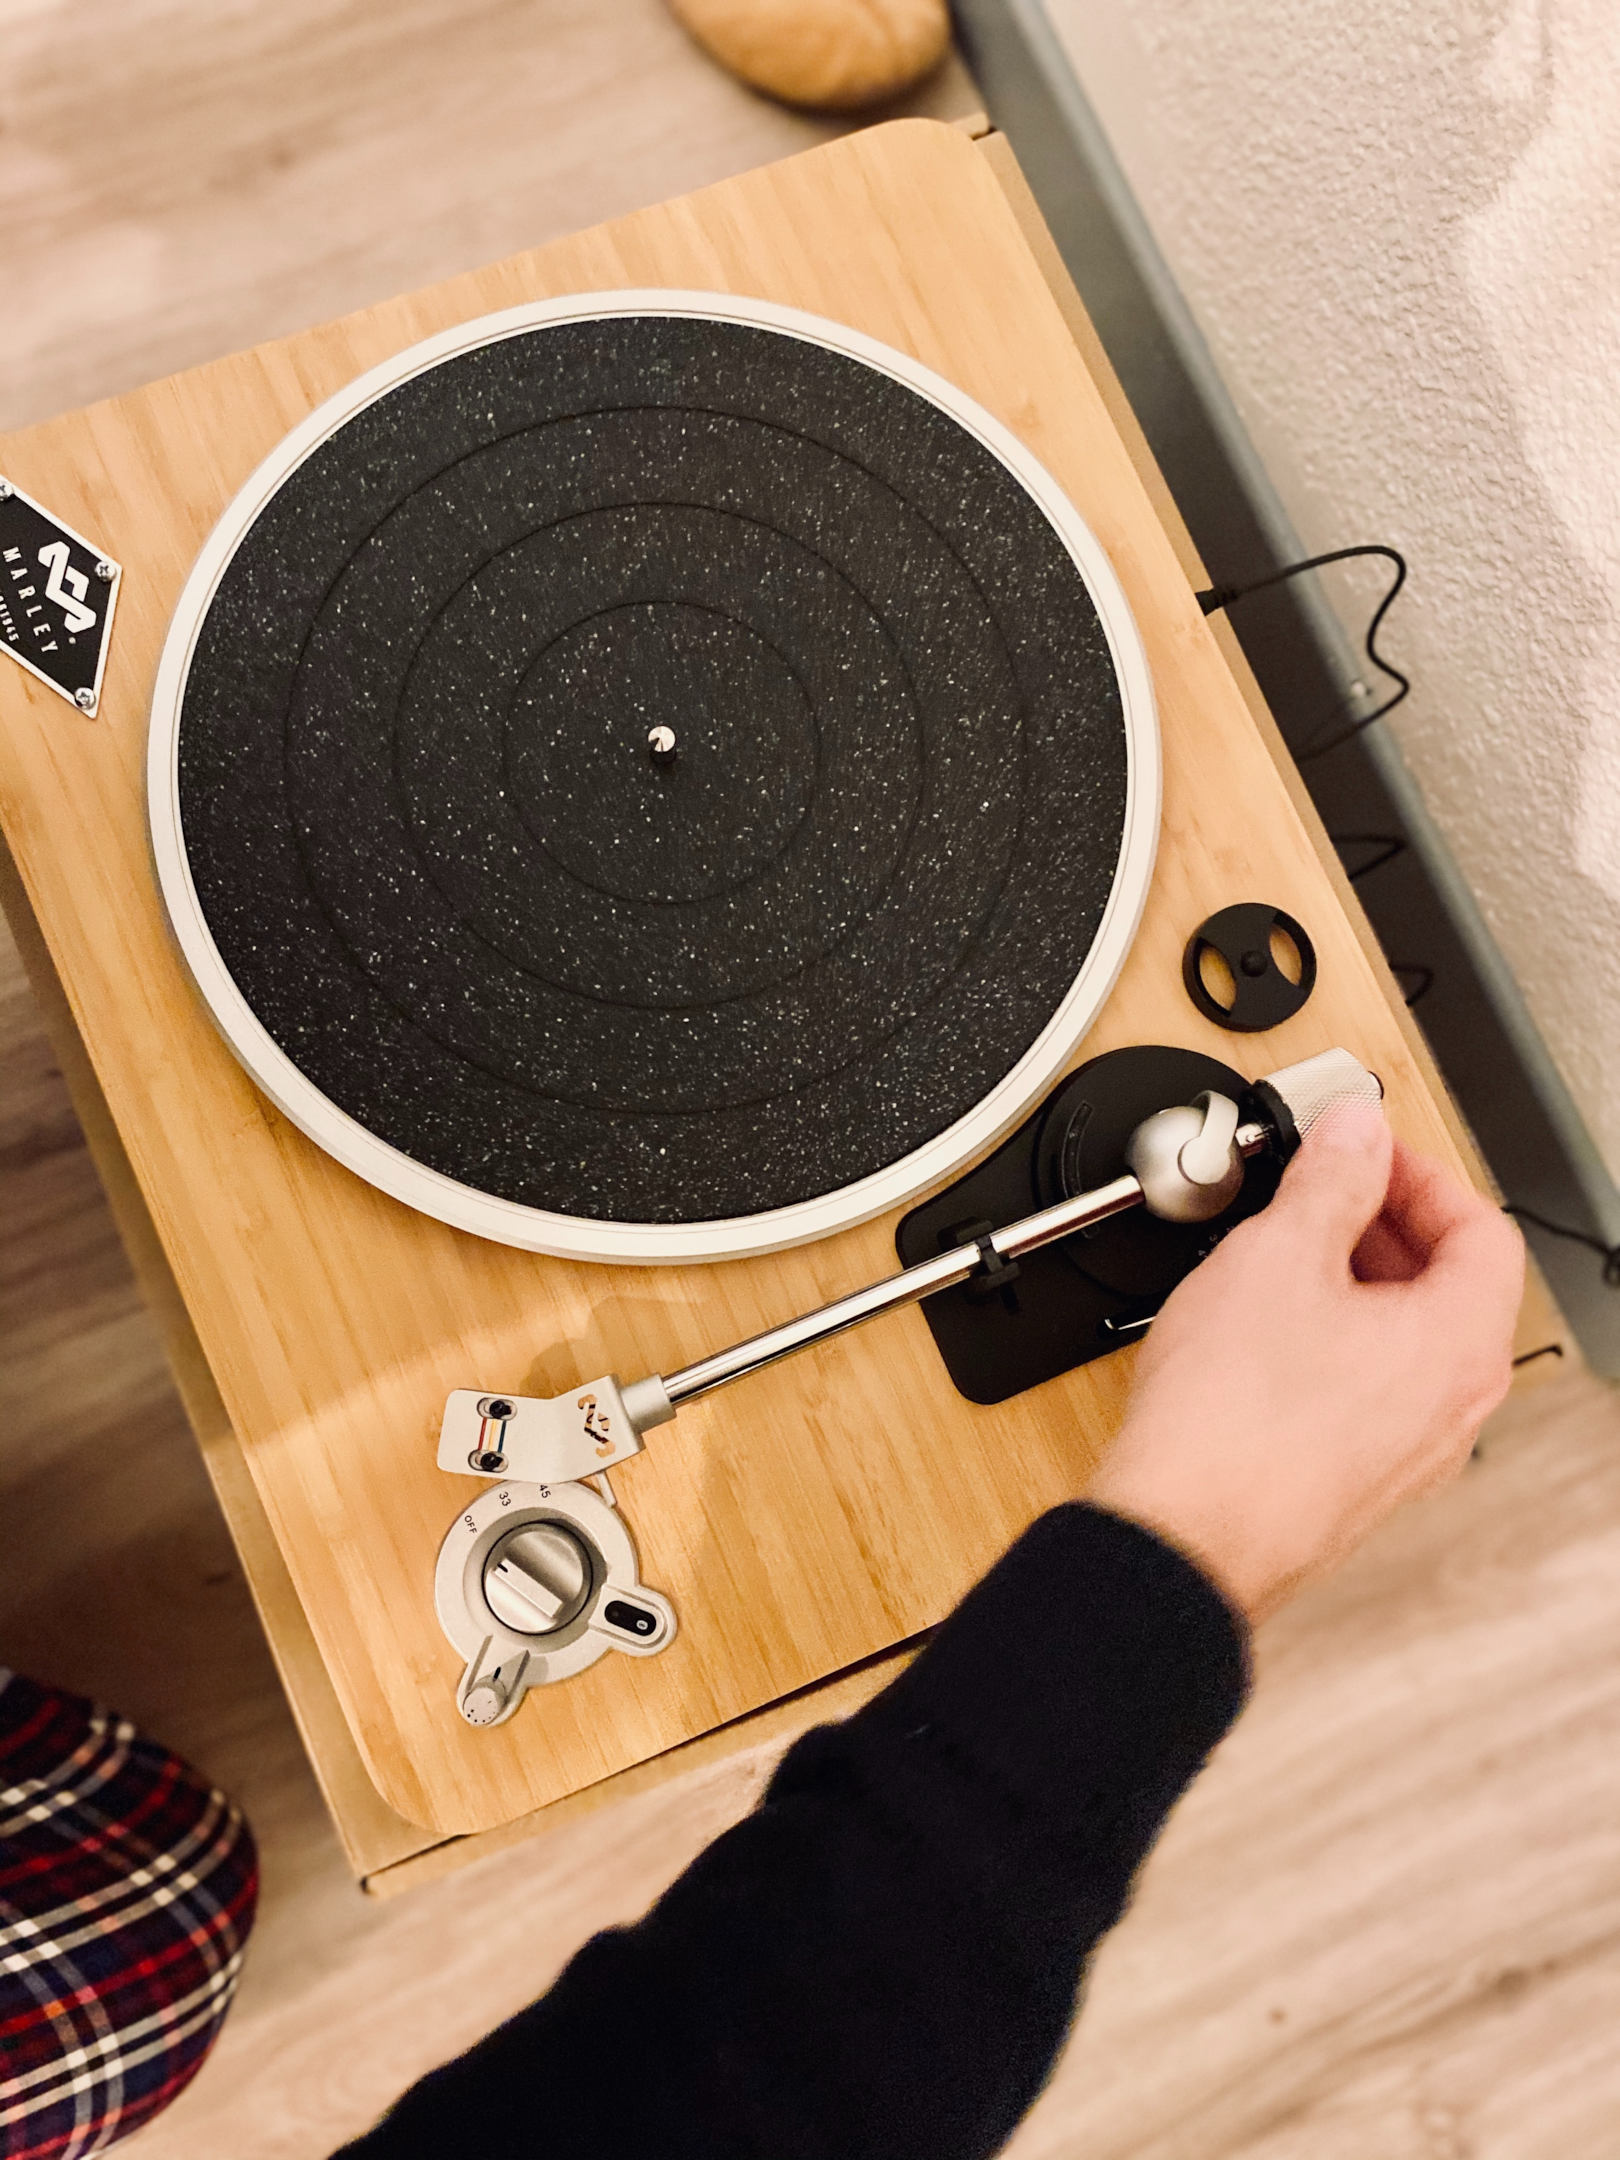
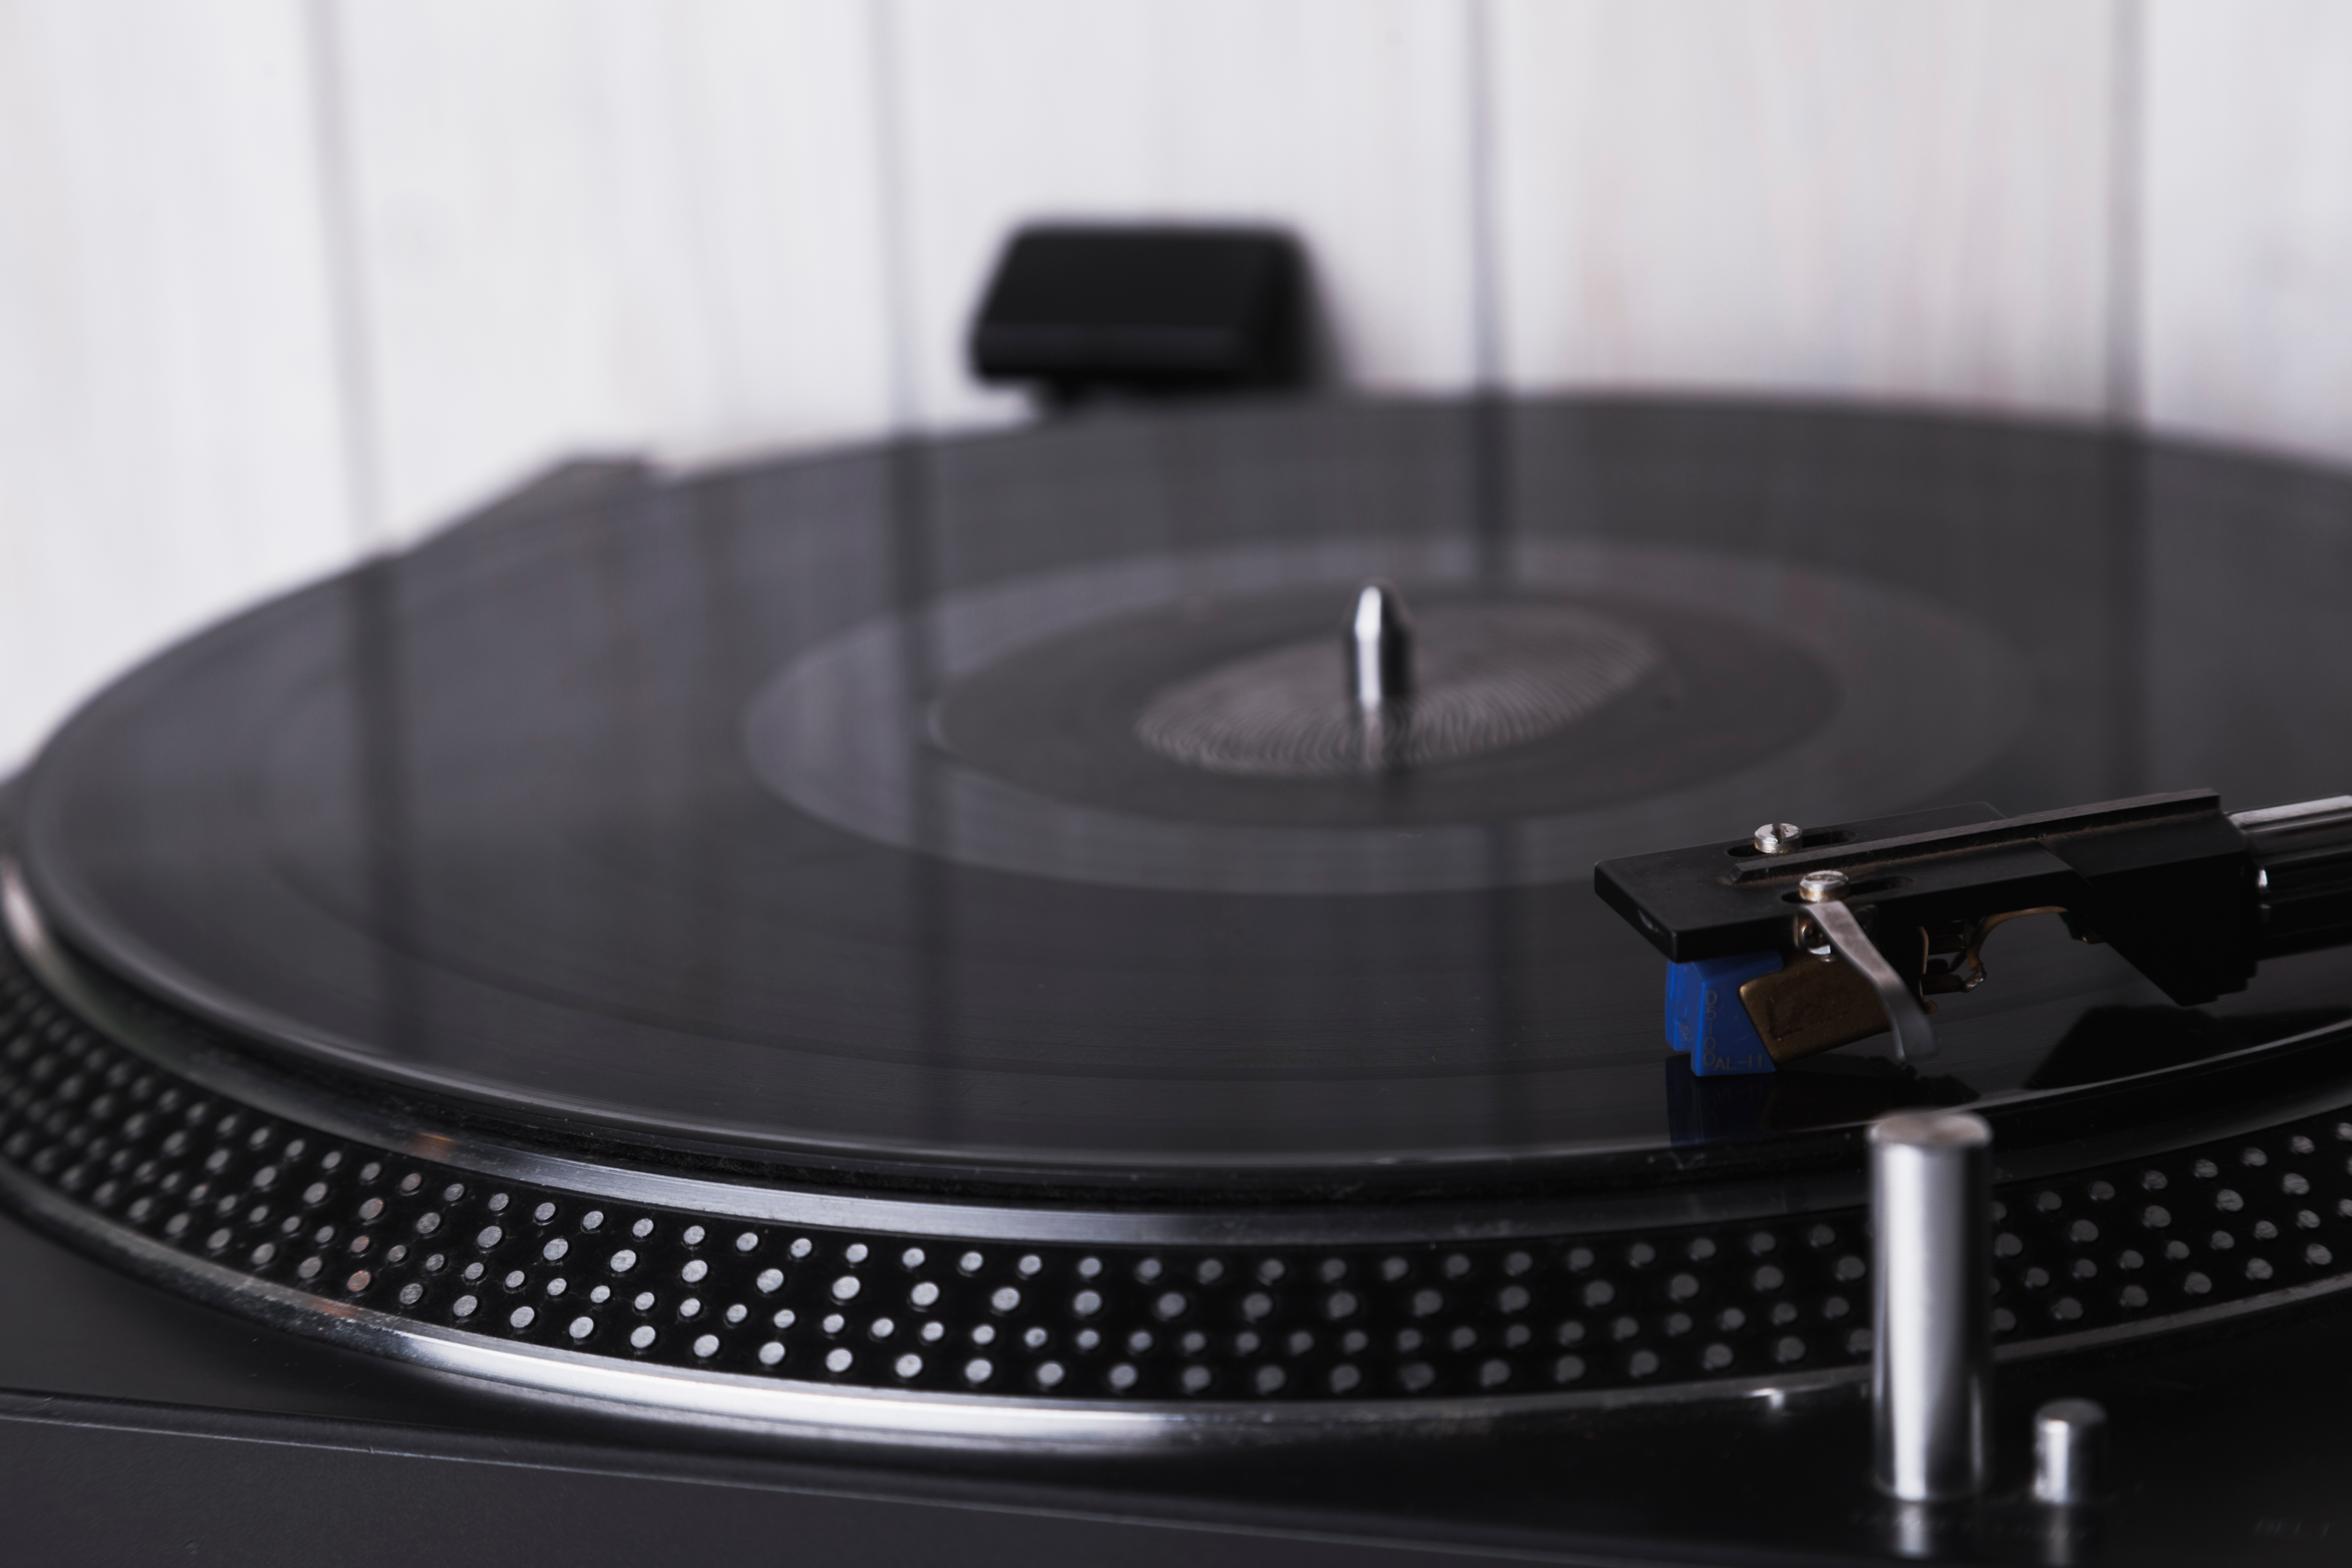
Physical Inspection: Checking the Stylus for Wear
To determine if your stylus needs replacing, performing a physical inspection is essential. This process allows you to closely examine the stylus tip and cantilever for signs of wear or damage. Here's a guide on how to conduct a thorough inspection:
Ensure proper lighting: Make sure you have adequate lighting in your workspace to clearly see the small and delicate components of the stylus. Using a bright lamp or natural light can help illuminate the area effectively.
Use a magnifying glass or a microscope: Due to the small size of the stylus tip and cantilever, it's helpful to use a magnifying glass or a low-power microscope to inspect these components up close. This will allow you to see any wear or damage that might not be visible to the naked eye.
Inspect the stylus tip: Carefully examine the stylus tip, which is the only part that comes into direct contact with the record grooves. Look for signs of wear, such as a flattened or worn-down tip, which may indicate that it's time for a replacement. A healthy stylus tip should be symmetrical, smooth, and have a well-defined shape.
Check the cantilever: The cantilever is the thin rod that connects the stylus tip to the cartridge. Inspect it for any signs of bending, misalignment, or damage. A bent or misshapen cantilever can cause tracking issues and negatively impact sound quality.
Examine the cartridge alignment: While inspecting the stylus, it's also a good idea to check the cartridge's alignment. Ensure that the cartridge is mounted correctly and securely to the tone arm, and that the wires are properly connected. An improperly aligned cartridge can cause similar issues to a worn stylus.
If, after conducting a physical inspection, you find that the stylus appears worn or damaged, it's time for a replacement. Replacing the stylus as needed will help ensure optimal sound quality, protect your vinyl records from potential damage, and maintain the overall performance of your turntable.
Choosing the Right Replacement Stylus
Understanding Different Types of Styluses
In the world of styli, variety is the spice of life. Conical, elliptical, line-contact – oh my! Each type struts its own pros and cons, so dive into the details and find your stylus soulmate for the perfect match with your turntable model. Spin those records and let the good times roll!
Matching the Replacement Stylus to Your Turntable Model
When selecting a replacement stylus, it's crucial to choose one that is compatible with your turntable. You can do this by cross-referencing your turntable's model number or serial number with the available styli. Consult your owner's manual or search online for information about compatible replacement needles for your specific model.
Considering Upgrade Options: Benefits of High-Quality Styluses
In some cases, you may want to consider upgrading your stylus for improved performance. High-quality styli, such as those with an aluminum cantilever or a more refined tip, can provide better sound quality and longer life. Research available options and weigh the benefits of investing in a stylus upgrade.
Also check out: Ready to embark on your DJ journey using turntables? Get a head start with this insightful guide on how to get started as a DJ using turntables and mastering their use. Learn the essentials and become a turntable maestro in no time!
How to Replace the Record Player Needle
Preparing for Turntable Stylus Replacement
Before replacing your record player needle, gather the necessary tools and materials. You will need a new stylus, needle nose pliers, a small flathead screwdriver, and possibly an overhang gauge if adjusting the entire cartridge. Ensure your turntable is powered off and unplugged before beginning the replacement process.
Step-by-Step Guide to Replacing the Stylus
- Carefully grip the old stylus with your thumb and index finger or needle nose pliers, then gently pull it away from the cartridge. It should slide out without too much resistance.
- Take and insert the new stylus and align it with the cartridge's opening. Gently insert it until it clicks into place. Be careful not to over-tighten or force the stylus, as this can cause damage.
- Once the new stylus is securely in place, plug in your turntable and play a record to ensure proper installation and sound quality.
Properly Aligning the New Stylus
In some cases, you may need to adjust the tone arm or replace the entire cartridge when installing a new stylus. Consult your owner's manual or instruction manual for specific guidance on this process.
Upgrading Your Turntable's Cartridge
Why Upgrade the Replacement Cartridge?
Upgrading your turntable's replacement cartridge can improve sound quality and provide a more enjoyable listening experience. A high-quality cartridge, such as an Audio Technica or other reputable brand, can enhance your turntable's performance and extend the life of your records.
Selecting the Right Cartridge for Your Turntable
When choosing a replacement cartridge, it's essential to select one that is compatible with cartridges for your turntable model. Consult your owner's manual or search online for information about suitable cartridges for your specific turntable.
Installing the New Cartridge: Tips and Tricks
To install the new cartridge, follow these steps:
- Remove the old cartridge by loosening the two screws holding it in place. Be careful not to lose the small screws or damage the delicate wires connecting the cartridge to the tone arm.
- Carefully attach the new cartridge, ensuring that the wires are correctly connected and the cartridge is securely fastened.
- Adjust the tone arm and tracking force, if necessary, according to your turntable's owner's manual or instruction manual.
Adjusting the Tone Arm After Stylus Replacement
Importance of Tone Arm Adjustment
Properly adjusting the tone arm after a stylus replacement is essential for optimal performance and sound quality. An improperly adjusted tone arm can cause skipping, distortion, and record wear.
Balancing the Tone Arm: An Essential Step
Time to balance that tone arm for a flawless vinyl experience. While your turntable's owner's manual or instruction guide will have the specifics, we're here to give you a general idea of how it's done. Let's dive in!
First up: counterweight. This little gem is located at the back of the tonearm and plays a crucial role in balancing the arm. To set it just right, follow these steps:
- Make sure your turntable is on a level surface.
- Remove the stylus guard to avoid damaging the needle.
- Release the tonearm head from its rest and hold it gently.
- Slowly rotate the counterweight until the tonearm floats horizontally, parallel to the platter.
Setting the Correct Tracking Force and Anti-Skate
Once the tone arm is balanced, set the tracking force according to your specific turntable and cartridge requirements. This information can be found in your owner's manual or online. Adjust the anti-skate control to match the tracking force.
Maintaining Your Turntable for Optimal Performance
Regular Maintenance Tips for Your Turntable
Proper care and maintenance of your turntable can prolong the life of your stylus, cartridge, and records. Clean your turntable regularly, inspect and replace worn parts as needed, and store your records correctly to ensure optimal performance.
How Cleaning Your Records Extends Stylus Life
Cleaning your vinyl records regularly can help extend the life of your stylus by reducing the amount of dust and debris that comes into contact with the needle. Use a high-quality record cleaning brush or solution to keep your records in top condition.
Investing in Quality Accessories for Turntable Care
Investing in quality turntable accessories, such as a record brush, stylus cleaner, and anti-static mat, can help protect your investment and ensure optimal performance.
Conclusion
Replacing your turntable stylus is an essential and crucial part of maintaining your record player and preserving your vinyl collection. By recognizing the signs of a worn stylus, selecting the right replacement needle, and properly installing the new stylus, you can enjoy better sound quality and longer-lasting records.
Proper maintenance, including regular cleanings and timely turntable stylus replacements, can improve your turntable's performance and enhance your listening experience. Whether you have a brand-new turntable or a cherished second-hand record player, taking care of your equipment will ensure years of enjoyable music playback.
Want to keep your turntable and record collection sounding divine? Investing in proper care and maintenance is the key. With timely stylus replacements, cartridge upgrades, and a little TLC, you'll be groovin' to top-notch sound quality while keeping your precious records safe and sound.
First on the list: stylus replacements. The needle takes a lot of wear and tear, so swap it out every 1,000 hours or when you notice signs of wear, like skipping, distortion, or sibilance. This simple investment will keep your tunes sounding fresh and your records in tip-top shape.
Next up: cartridge upgrades. While not as frequent as stylus replacements, upgrading your cartridge can make a world of difference in sound quality. Research the best options for your turntable and budget, and treat yourself to an upgrade every few years for a noticeable sonic boost.
But wait, there's more! To truly pamper your turntable and record collection, don't forget these essential maintenance tips:
- Keep your records clean with a gentle brush or specialized cleaning solution.
- Store your vinyl vertically and away from direct sunlight, heat, or humidity.
- Regularly clean your turntable platter and dust off the tonearm and cartridge.
- Ensure your turntable is properly leveled and isolated from vibrations.
With proper care and maintenance, you'll enjoy the crystal-clear sound quality and prolong the life of your beloved record collection. So go ahead, spin those tunes, and revel in the sweet harmony of vinyl bliss. Happy listening!