

How to Build a DIY Vinyl Record Storage System: Step-by-Step Plans
Vinyl records are back with a bang! In recent years, their popularity has skyrocketed, captivating a whole new generation of music enthusiasts. The allure of vinyl lies not only in its warm and nostalgic sound but also in the tangible experience it offers. As these treasured collections continue to grow, it becomes essential to preserve their quality and ensure their longevity. That's where your very own DIY vinyl record storage system comes into play, offering a world of advantages that go far beyond mere functionality. Get ready to embark on a journey of creativity, customization, and pure vinyl bliss!
In this article, we will provide you with step-by-step plans to guide you through the process of creating your own DIY vinyl record storage system. These plans will cover everything from gathering the necessary materials and tools to constructing the shelves, adding optional decorative elements, and organizing your vinyl record collection.
Prepare to embark on a thrilling DIY adventure that will take your vinyl record collection to new heights! With these meticulously crafted instructions as your guide, get ready to construct a storage system that goes beyond mere functionality. We're talking about a personalized masterpiece that not only keeps your precious vinyl records safe and sound but also becomes the absolute showstopper of your space. So, strap on your tool belt, unleash your inner creative genius, and let's dive headfirst into the exhilarating world of building your very own DIY vinyl record storage system!
Understanding Vinyl Records
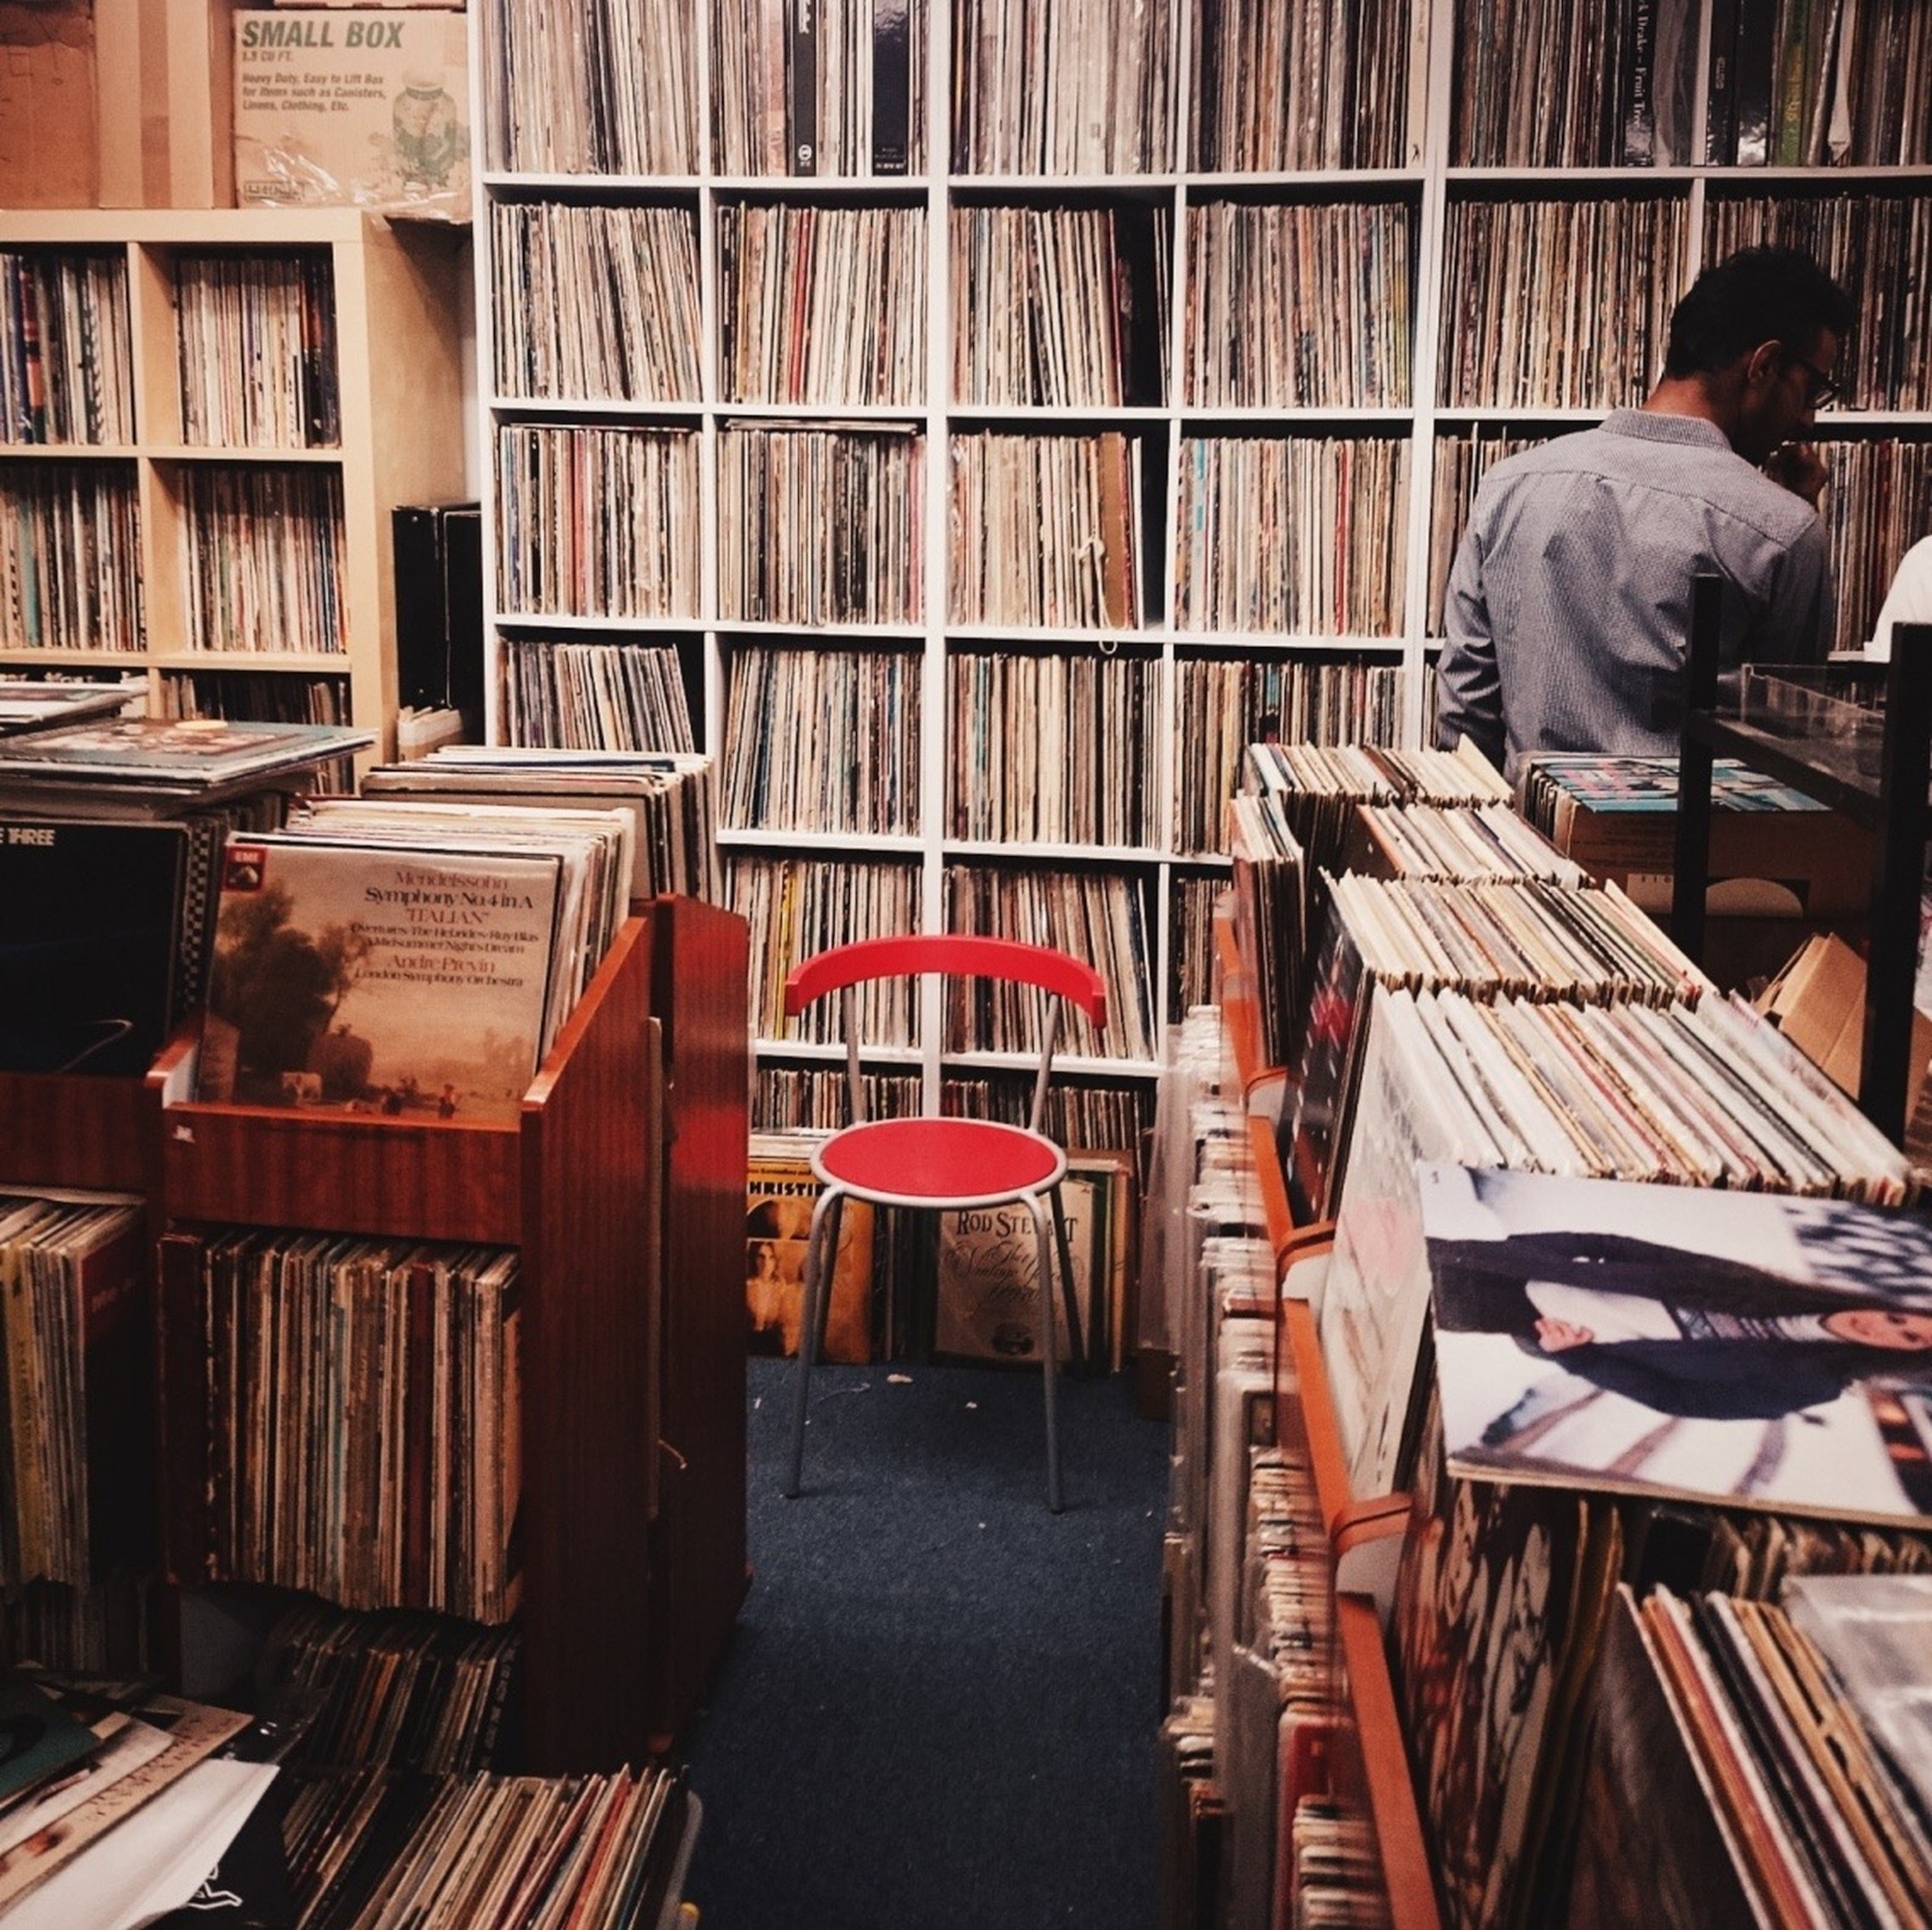
Before diving into the construction process, it's essential to understand the importance of proper vinyl record storage. Vinyl records are delicate and can easily be damaged if not handled and stored correctly. Improper storage can lead to warping, scratches, and other forms of damage that can significantly degrade the sound quality of your records. By organizing and protecting your vinyl record collection, you can preserve its value and enjoy your favorite music for years to come.
Planning Your DIY Vinyl Record Shelf
The first step in creating your DIY vinyl record storage system is careful planning. Before diving into the construction process, it's essential to consider various factors that will help you determine the size, design, and materials needed for your storage system.
Start by evaluating the available space in the room where you intend to place your vinyl record storage system.
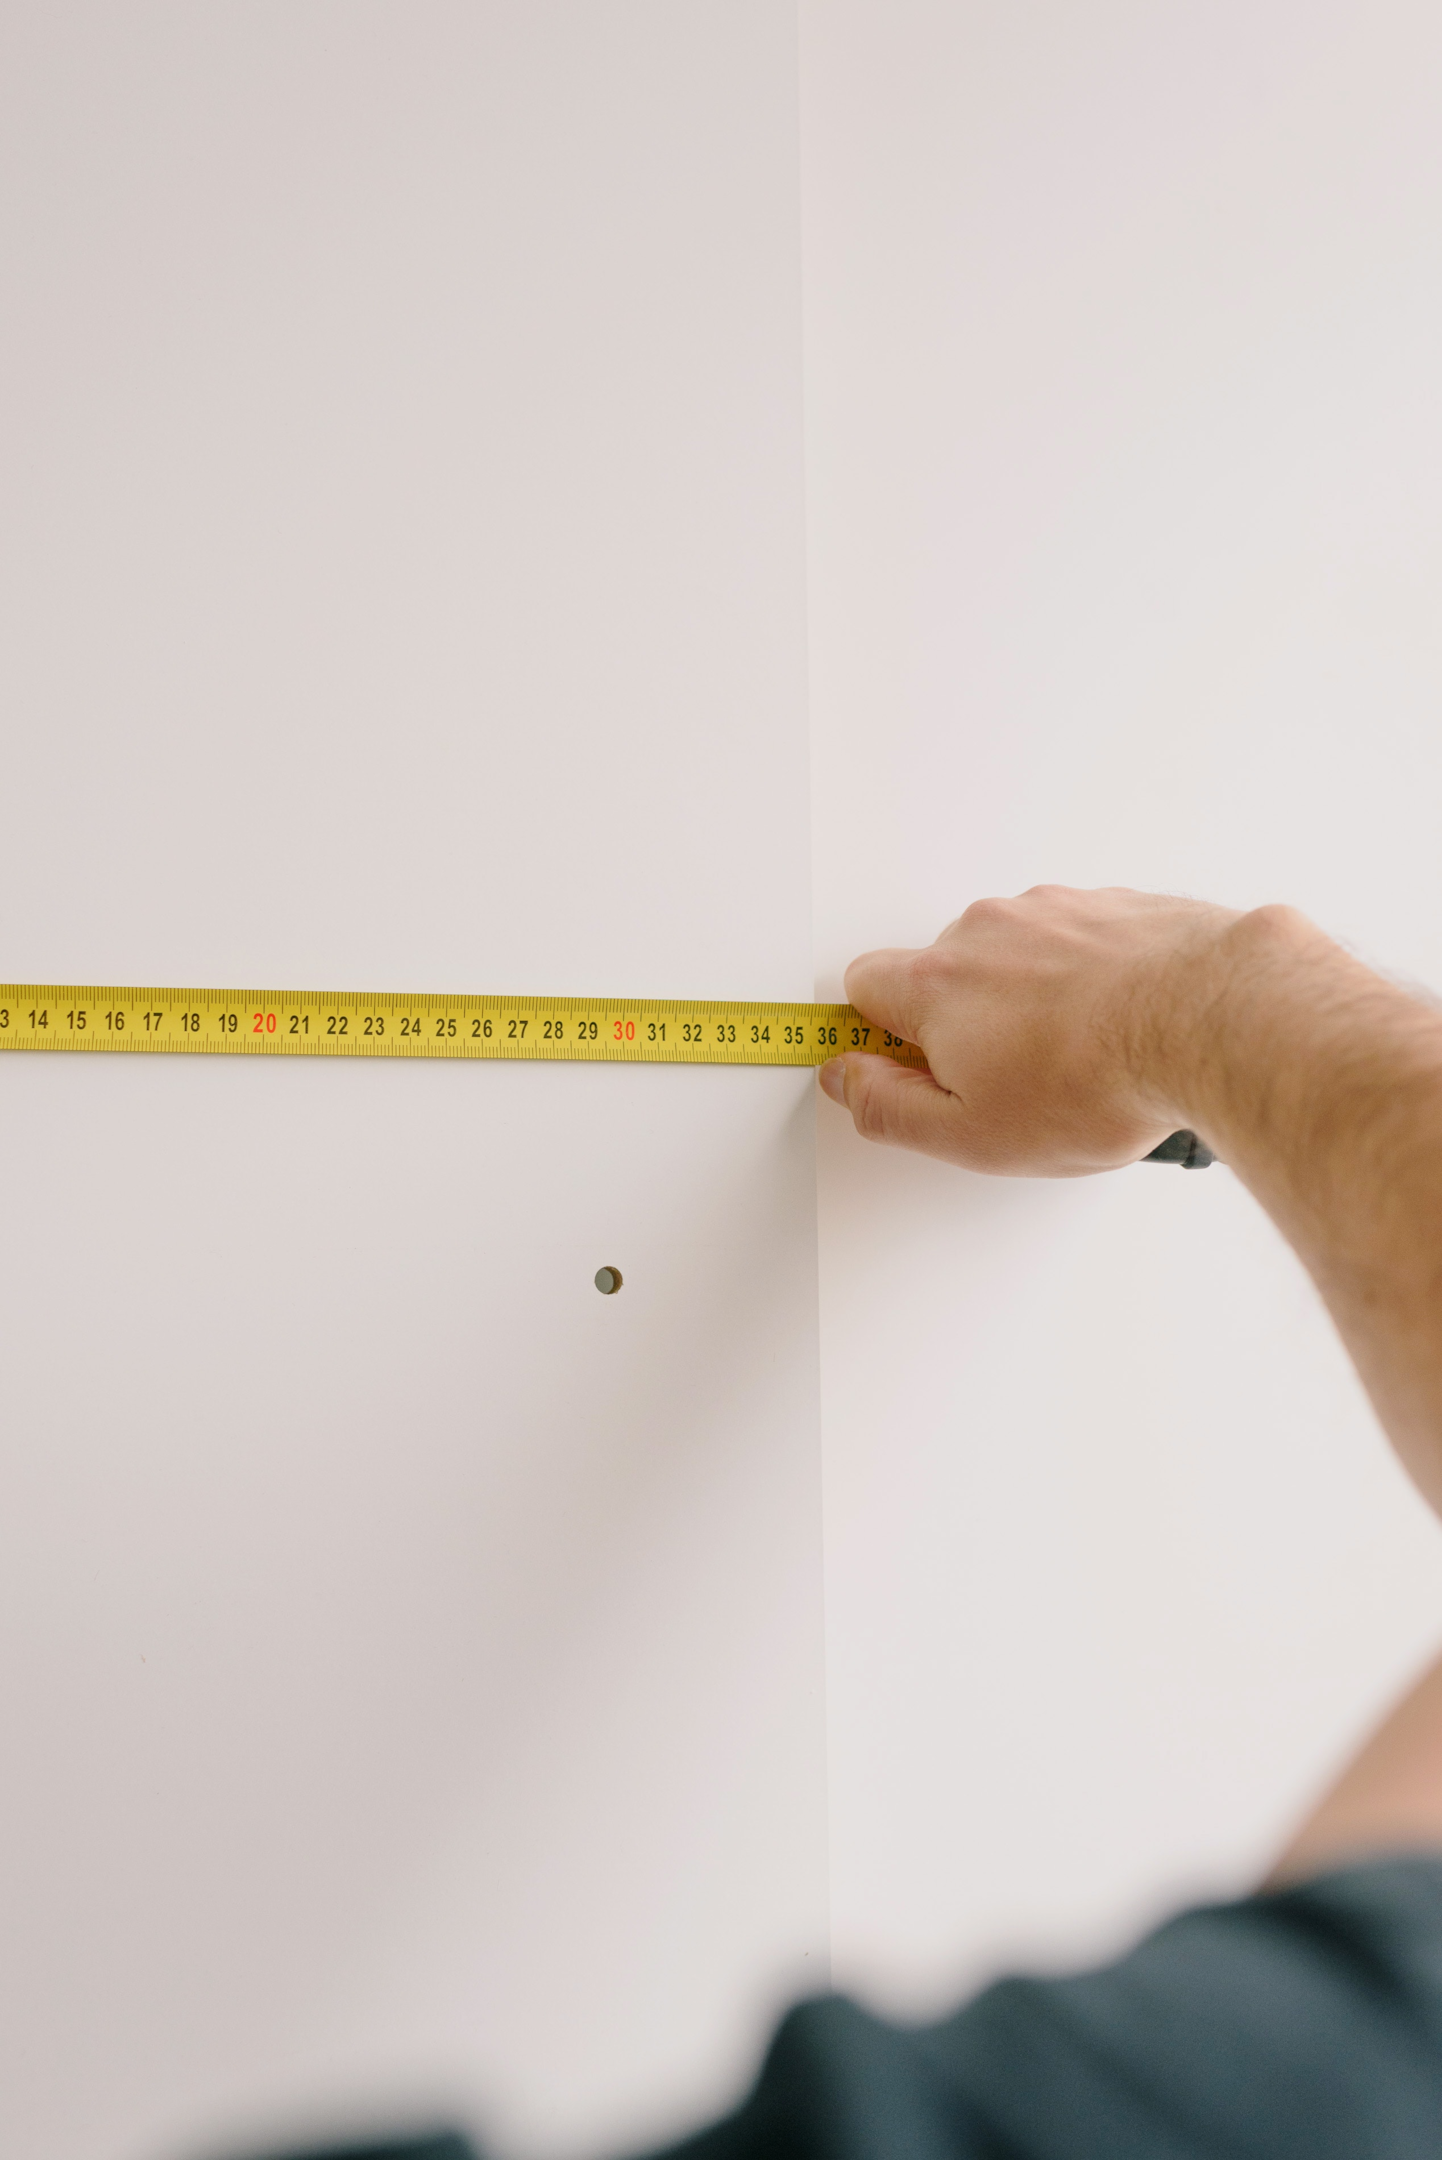
Take measurements of the area to determine the maximum dimensions your storage system can occupy. Consider the height, width, and depth of the space, as well as any potential obstacles such as doors, windows, or furniture. This evaluation will allow you to determine the optimal size and shape for your storage system, ensuring it fits seamlessly into your room.
Assess the number of vinyl records you currently own or anticipate owning in the future.

This inventory will help you determine how many records are the capacity required for your storage system. Consider whether you want a compact storage solution for a smaller collection or a more expansive unit that can accommodate a growing library. By taking into account the number of records, you can ensure that the shelves you build are adequately sized, allowing for easy access and organization of your collection.
Consider your aesthetic preferences when planning your DIY vinyl record storage system.
Do you prefer a minimalist and sleek design, or are you drawn to a more rustic and vintage look? Think about the existing decor and style of your room, and aim to create a storage system that complements and enhances the overall aesthetics. Choosing the right materials, finishes, and colors will help achieve the desired visual impact and make your storage system a cohesive part of the room's design.
By carefully planning ahead, you can ensure that your DIY vinyl record storage system meets both your functional and visual requirements. This thoughtful consideration of available space, collection size, and aesthetic preferences will guide the selection of materials, determine the dimensions of your storage system, and inform the overall design. Taking the time to plan will result in a storage solution that not only effectively organizes and protects your vinyl records but also adds a stylish and personalized touch to your space.
Gathering Materials and Tools
To begin the construction process, gather all the necessary materials and tools. Here's a list of items you'll need:
Plywood sheets, Wood screws, Circular saw, Tape measure, Drill, Sanding block, Paint or stain (optional)
Ensure that you have all the materials on hand before starting the project. This will save time and allow for a smooth workflow during the post construction.
Building the Vinyl Record Shelf
Once you have gathered your materials and tools, it's time to dive into the construction process of your DIY vinyl record storage system. This section will expand on the steps involved in building the actual vinyl record shelf.
Measure and mark the dimensions:
Begin by measuring and marking the dimensions for your record shelf on the plywood panels. Use a tape measure to ensure accurate measurements. Take into account the height, width, and depth you desire for each shelf. Careful measurements will help you achieve a well-fitted storage system.
Cut out the pieces:
Once you've marked the dimensions, it's time to use a circular saw to cut out the pieces from the plywood panels. Follow your markings precisely to ensure that the pieces fit together properly. Take your time and use caution when operating the circular saw to ensure accurate and safe cuts.
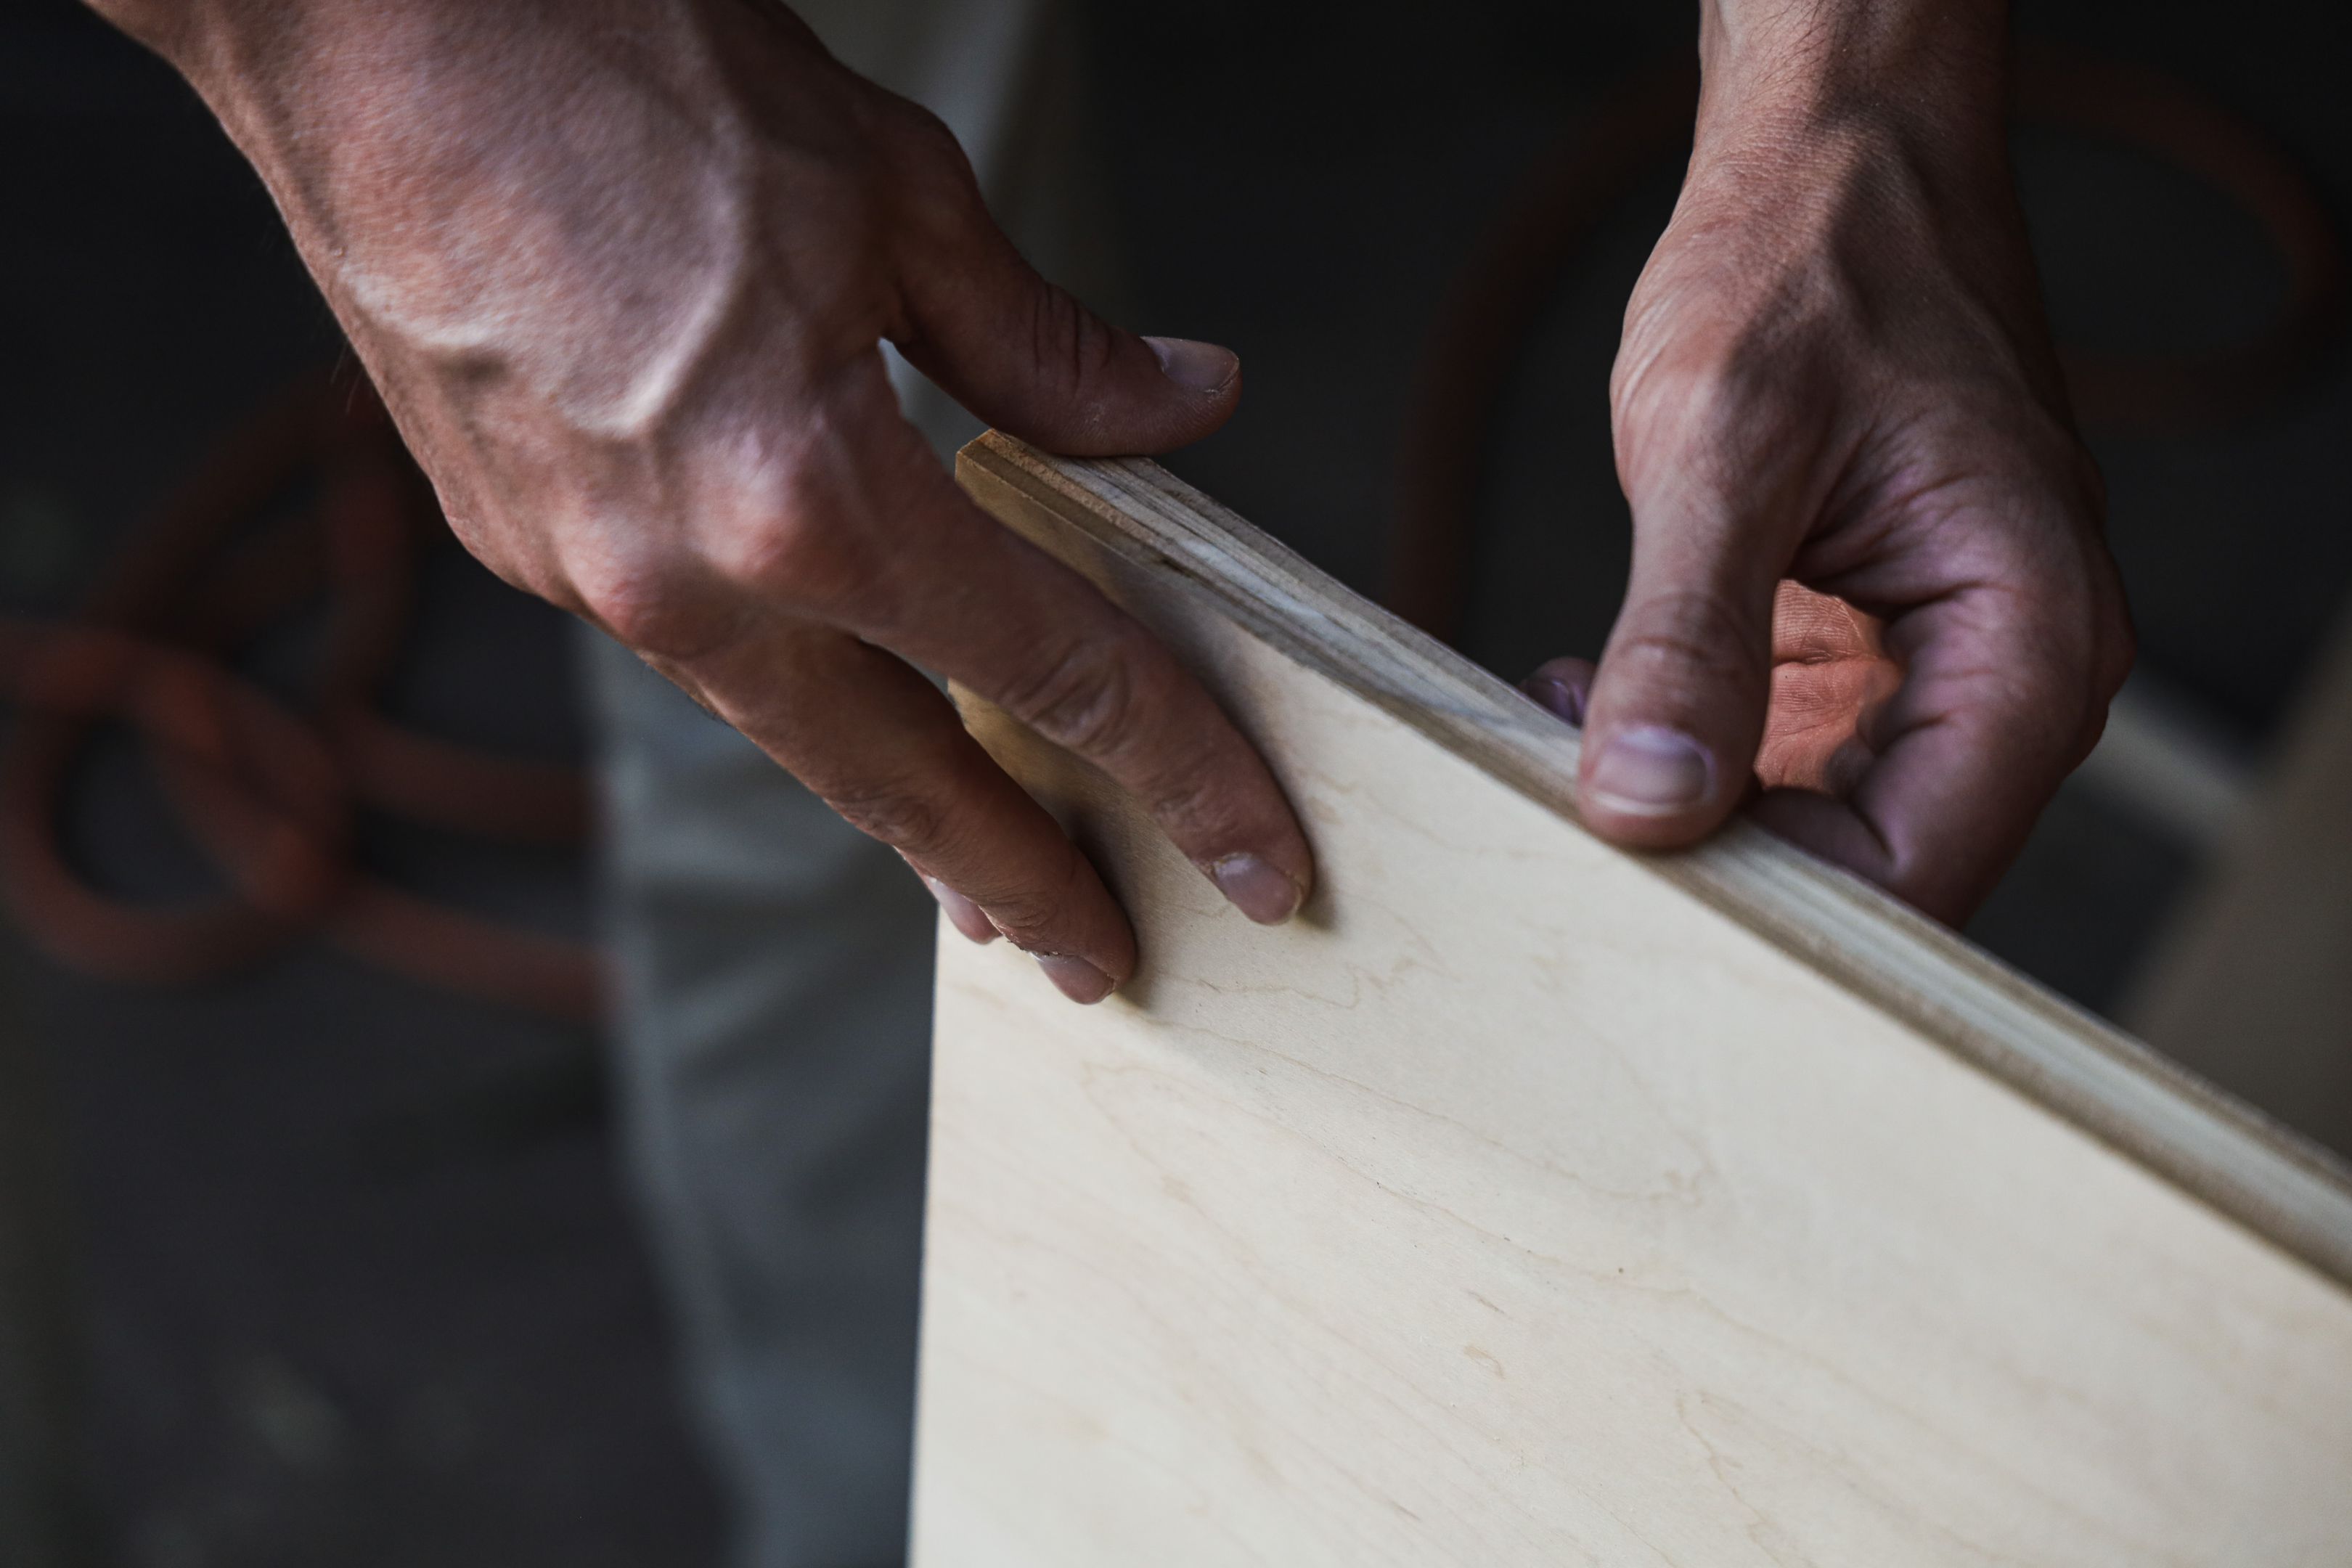
Sand the plywood edges:
After cutting out the pieces, use a sanding block to smooth the rough edges of the plywood. Sanding the edges will not only create a clean and finished look but also prevent any splintering or snagging when handling your vinyl records.
Assemble the vinyl record shelf:

With the pieces cut and sanded, it's time to assemble the vinyl record shelf. Start by attaching the wood pieces together using wood screws and pilot holes. To ensure a sturdy construction, make sure to drill pilot holes before inserting the screws. This will prevent the wood from splitting and provide a secure and long-lasting screw connection.
Ensure stability:
As you assemble the shelves, pay extra attention to the bottom shelf. This shelf needs to be sturdy enough to support the weight of your vinyl collection. Consider adding additional supports or reinforcing the connections to ensure stability. A strong and stable bottom shelf will prevent any sagging or buckling of the entire storage system.
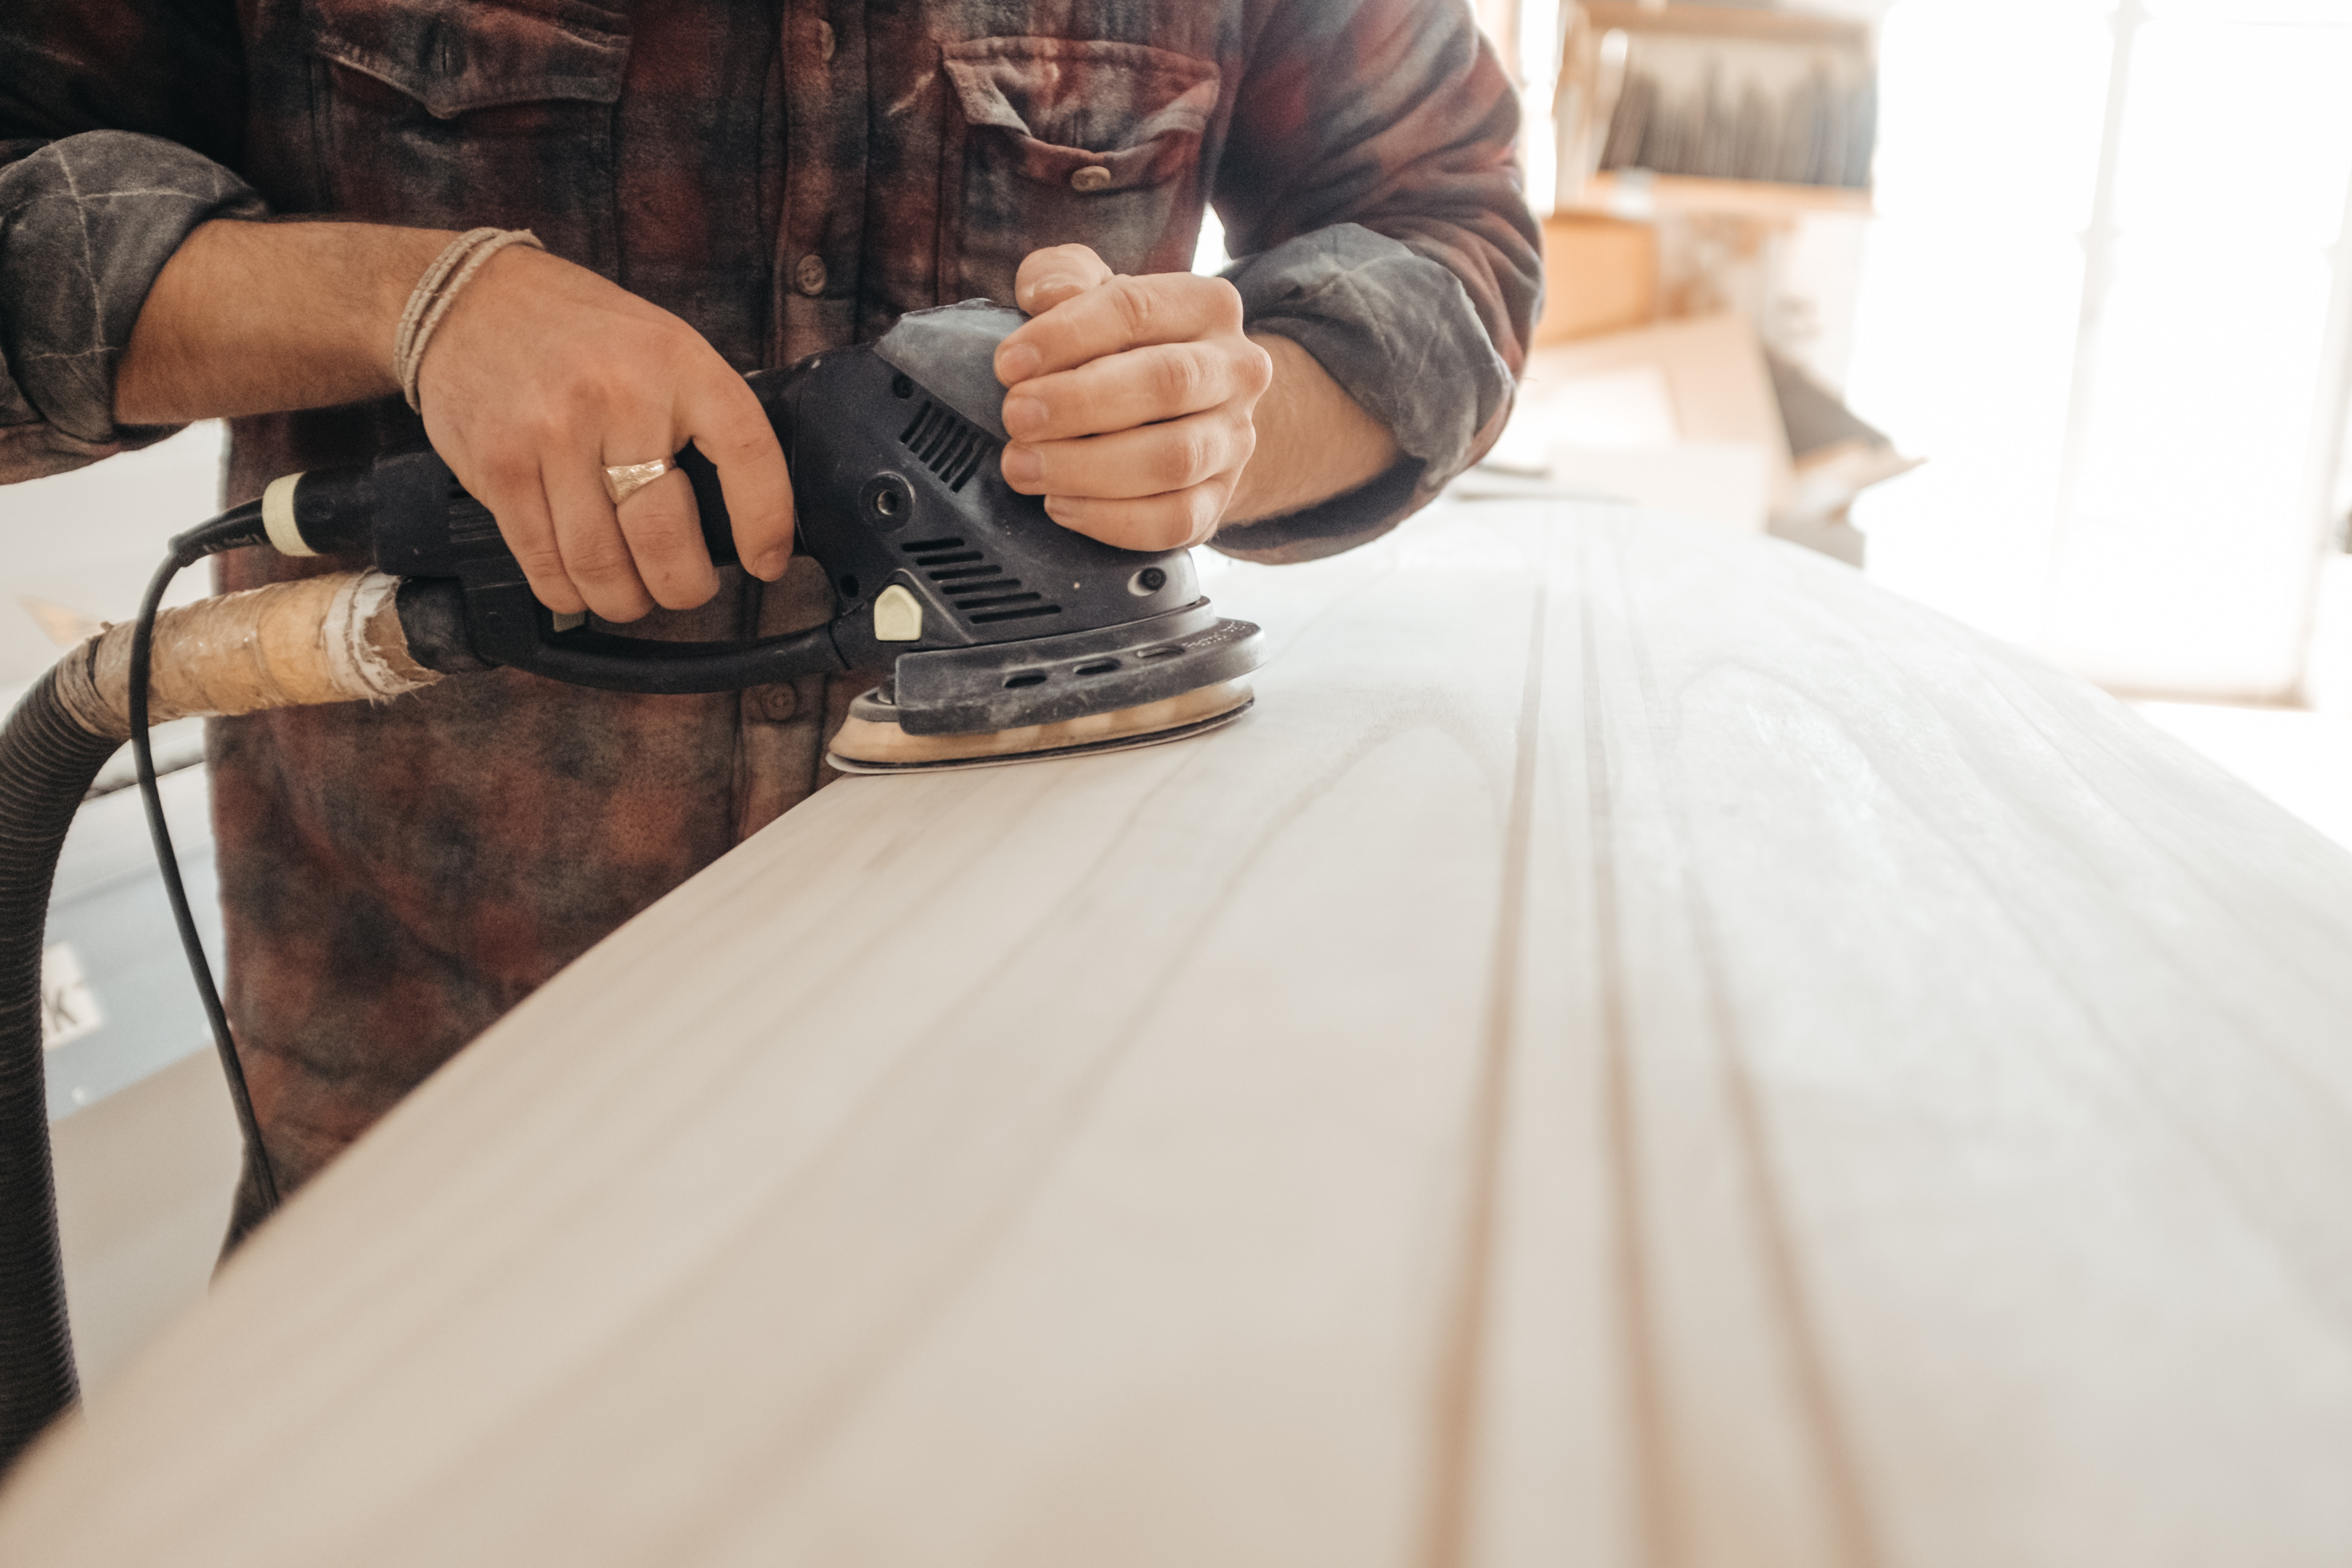
Achieve a smooth surface:
Inspect the assembled vinyl record shelf for any rough areas or imperfections. Use the sanding block to smooth out these areas and achieve a uniformly smooth surface. A well-sanded shelf will not only enhance the appearance of vinyl record wall but also prevent any potential damage to your vinyl records.
By following these expanded instructions, you'll be able to construct a sturdy and visually appealing vinyl record shelf.
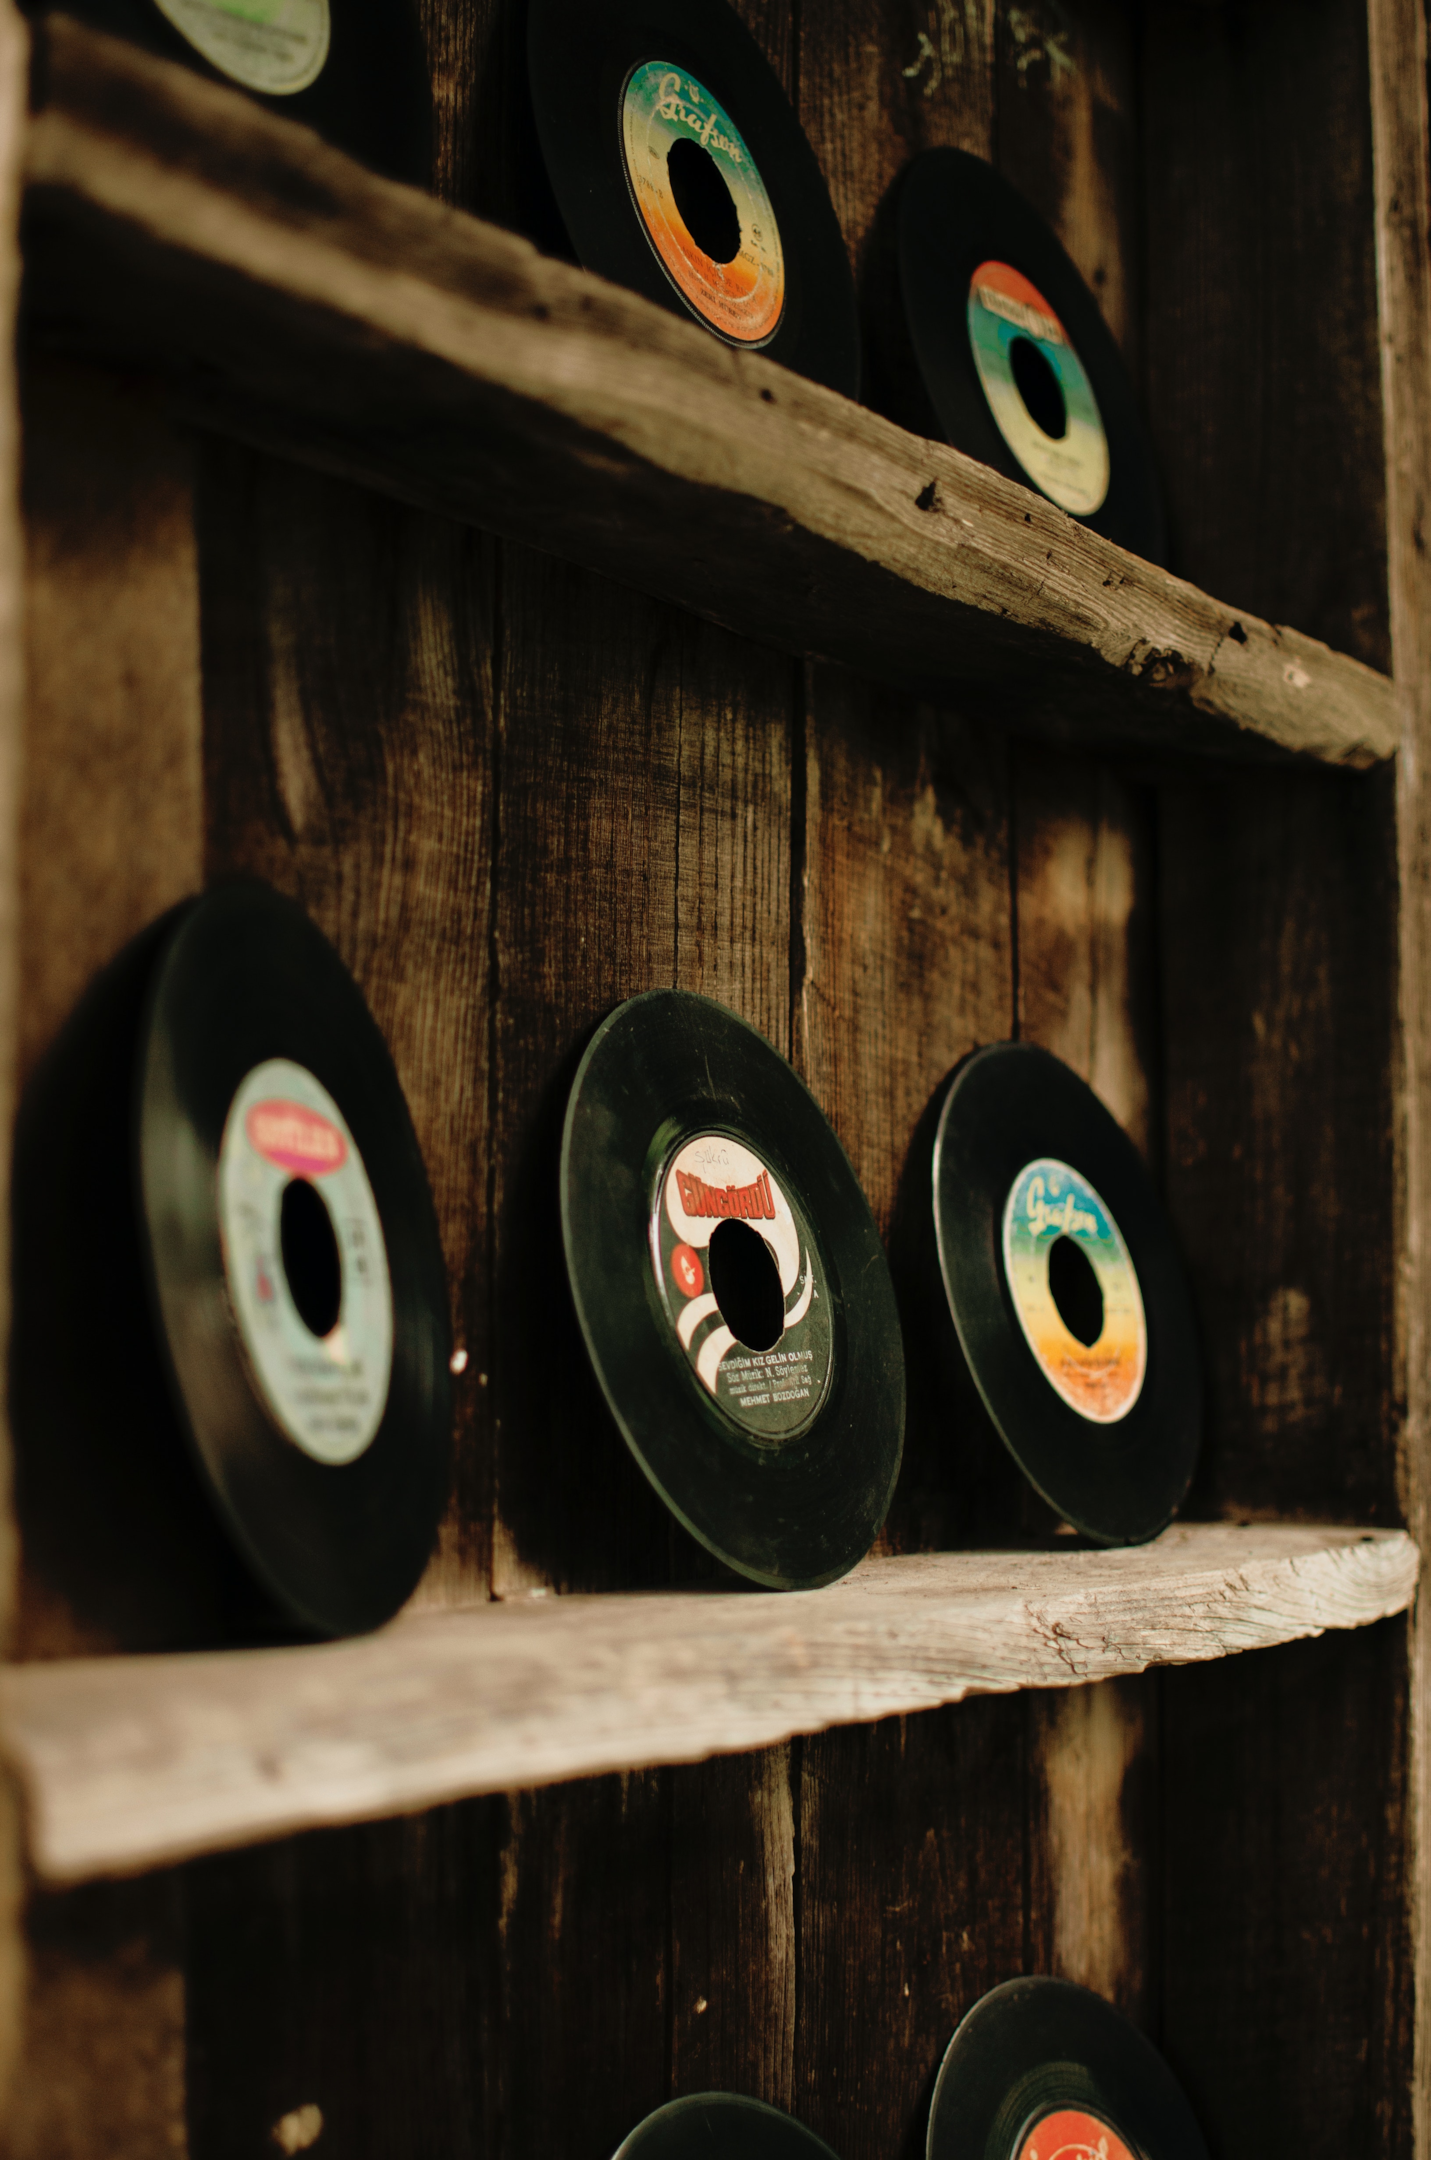
Adding Vinyl Record Frames
If you want to add a decorative element to your DIY vinyl record storage system, consider incorporating vinyl record frames. These frames can be attached to the wall or the side of the shelf, allowing you to display your favorite album covers while keeping them easily accessible.

Finishing Touches
Once the construction of your DIY vinyl record storage system is complete, it's time to add the finishing touches that will enhance its aesthetic appeal and make it a standout feature in your room.
Choose your desired finish:
The first step is to decide whether you want to paint or stain your vinyl record shelf.
Prepare the surface:
Start by using fine-grit sandpaper to smooth out any rough areas or imperfections. This will create a clean and even surface for the paint or stain to adhere to.
Painting the shelf:
If you choose to paint your vinyl record shelf, start by applying a primer coat. The primer helps the paint adhere better and provides a more consistent finish. Once the primer has dried, apply your chosen paint color using a brush or roller. Apply multiple coats if necessary, allowing each coat to dry completely before moving on to the next.
Staining the shelf:
If you prefer a more natural look, staining the wood is a great option. Choose a stain color that complements the existing wood tones in your room or opt for a darker or lighter shade to create contrast. Apply the stain using a brush or cloth, following the manufacturer's instructions. Wipe off any excess stain to achieve your desired depth of color.
Protective finish:
To ensure the longevity of your DIY vinyl record storage system and protect the painted or stained surface, consider applying a protective finish. For painted shelves, a clear topcoat or varnish can provide durability and resistance to scratches. For stained shelves, consider using a wood sealant or polyurethane finish to protect the wood and enhance its natural beauty.
By personalizing your DIY vinyl record storage system through painting or staining, you can create a visually appealing piece that complements your room's decor and becomes a focal point in your space. Whether you choose to paint it in a bold color or stain it to enhance the natural wood grain, these finishing touches will add a touch of personal style and make your vinyl storage cabinet system uniquely yours.
Also check out: Looking for the perfect way to make your anniversary gift extra special? Dive into a world of creativity and discover a multitude of handmade ideas that will add a personal touch to your heartfelt gesture. From DIY keepsakes to customized crafts, this article is your ultimate guide to creating unforgettable DIY anniversary gifts. Unleash your creativity and let your love shine through with these unique and personalized ideas. Explore the art of handmade gifts and get ready to create something truly extraordinary. Check out this article for inspiring DIY anniversary gift ideas that will melt hearts!
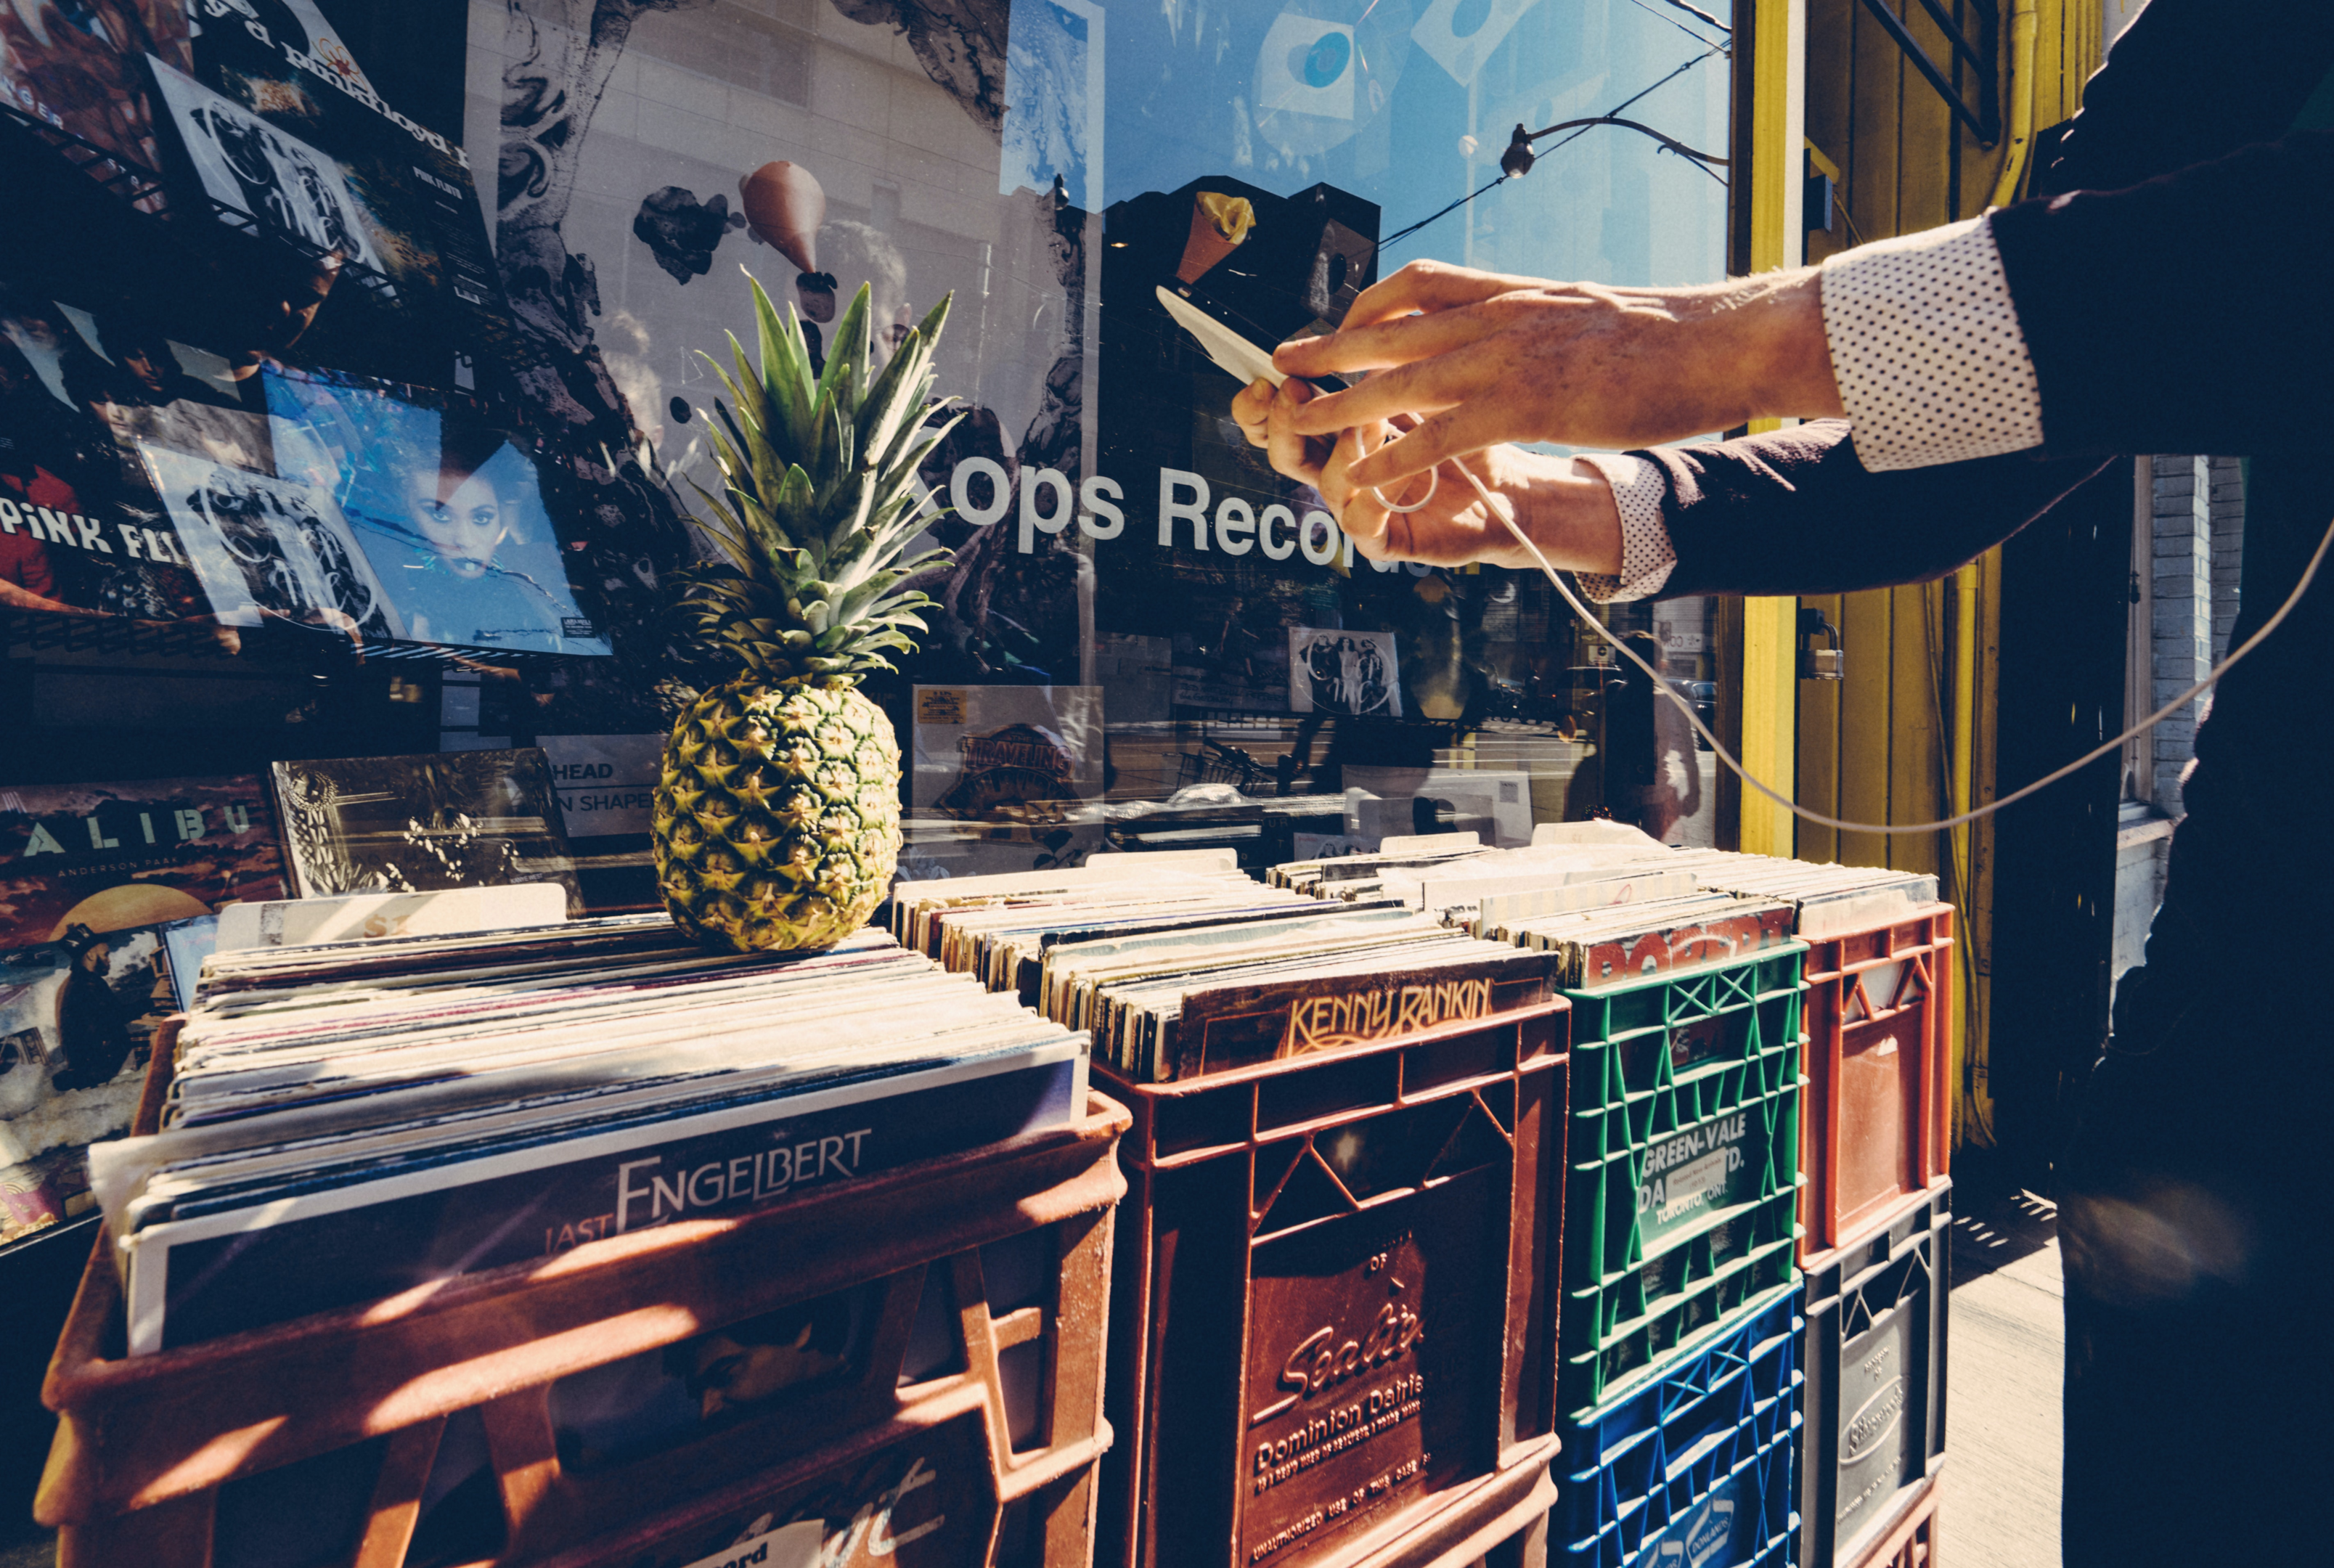
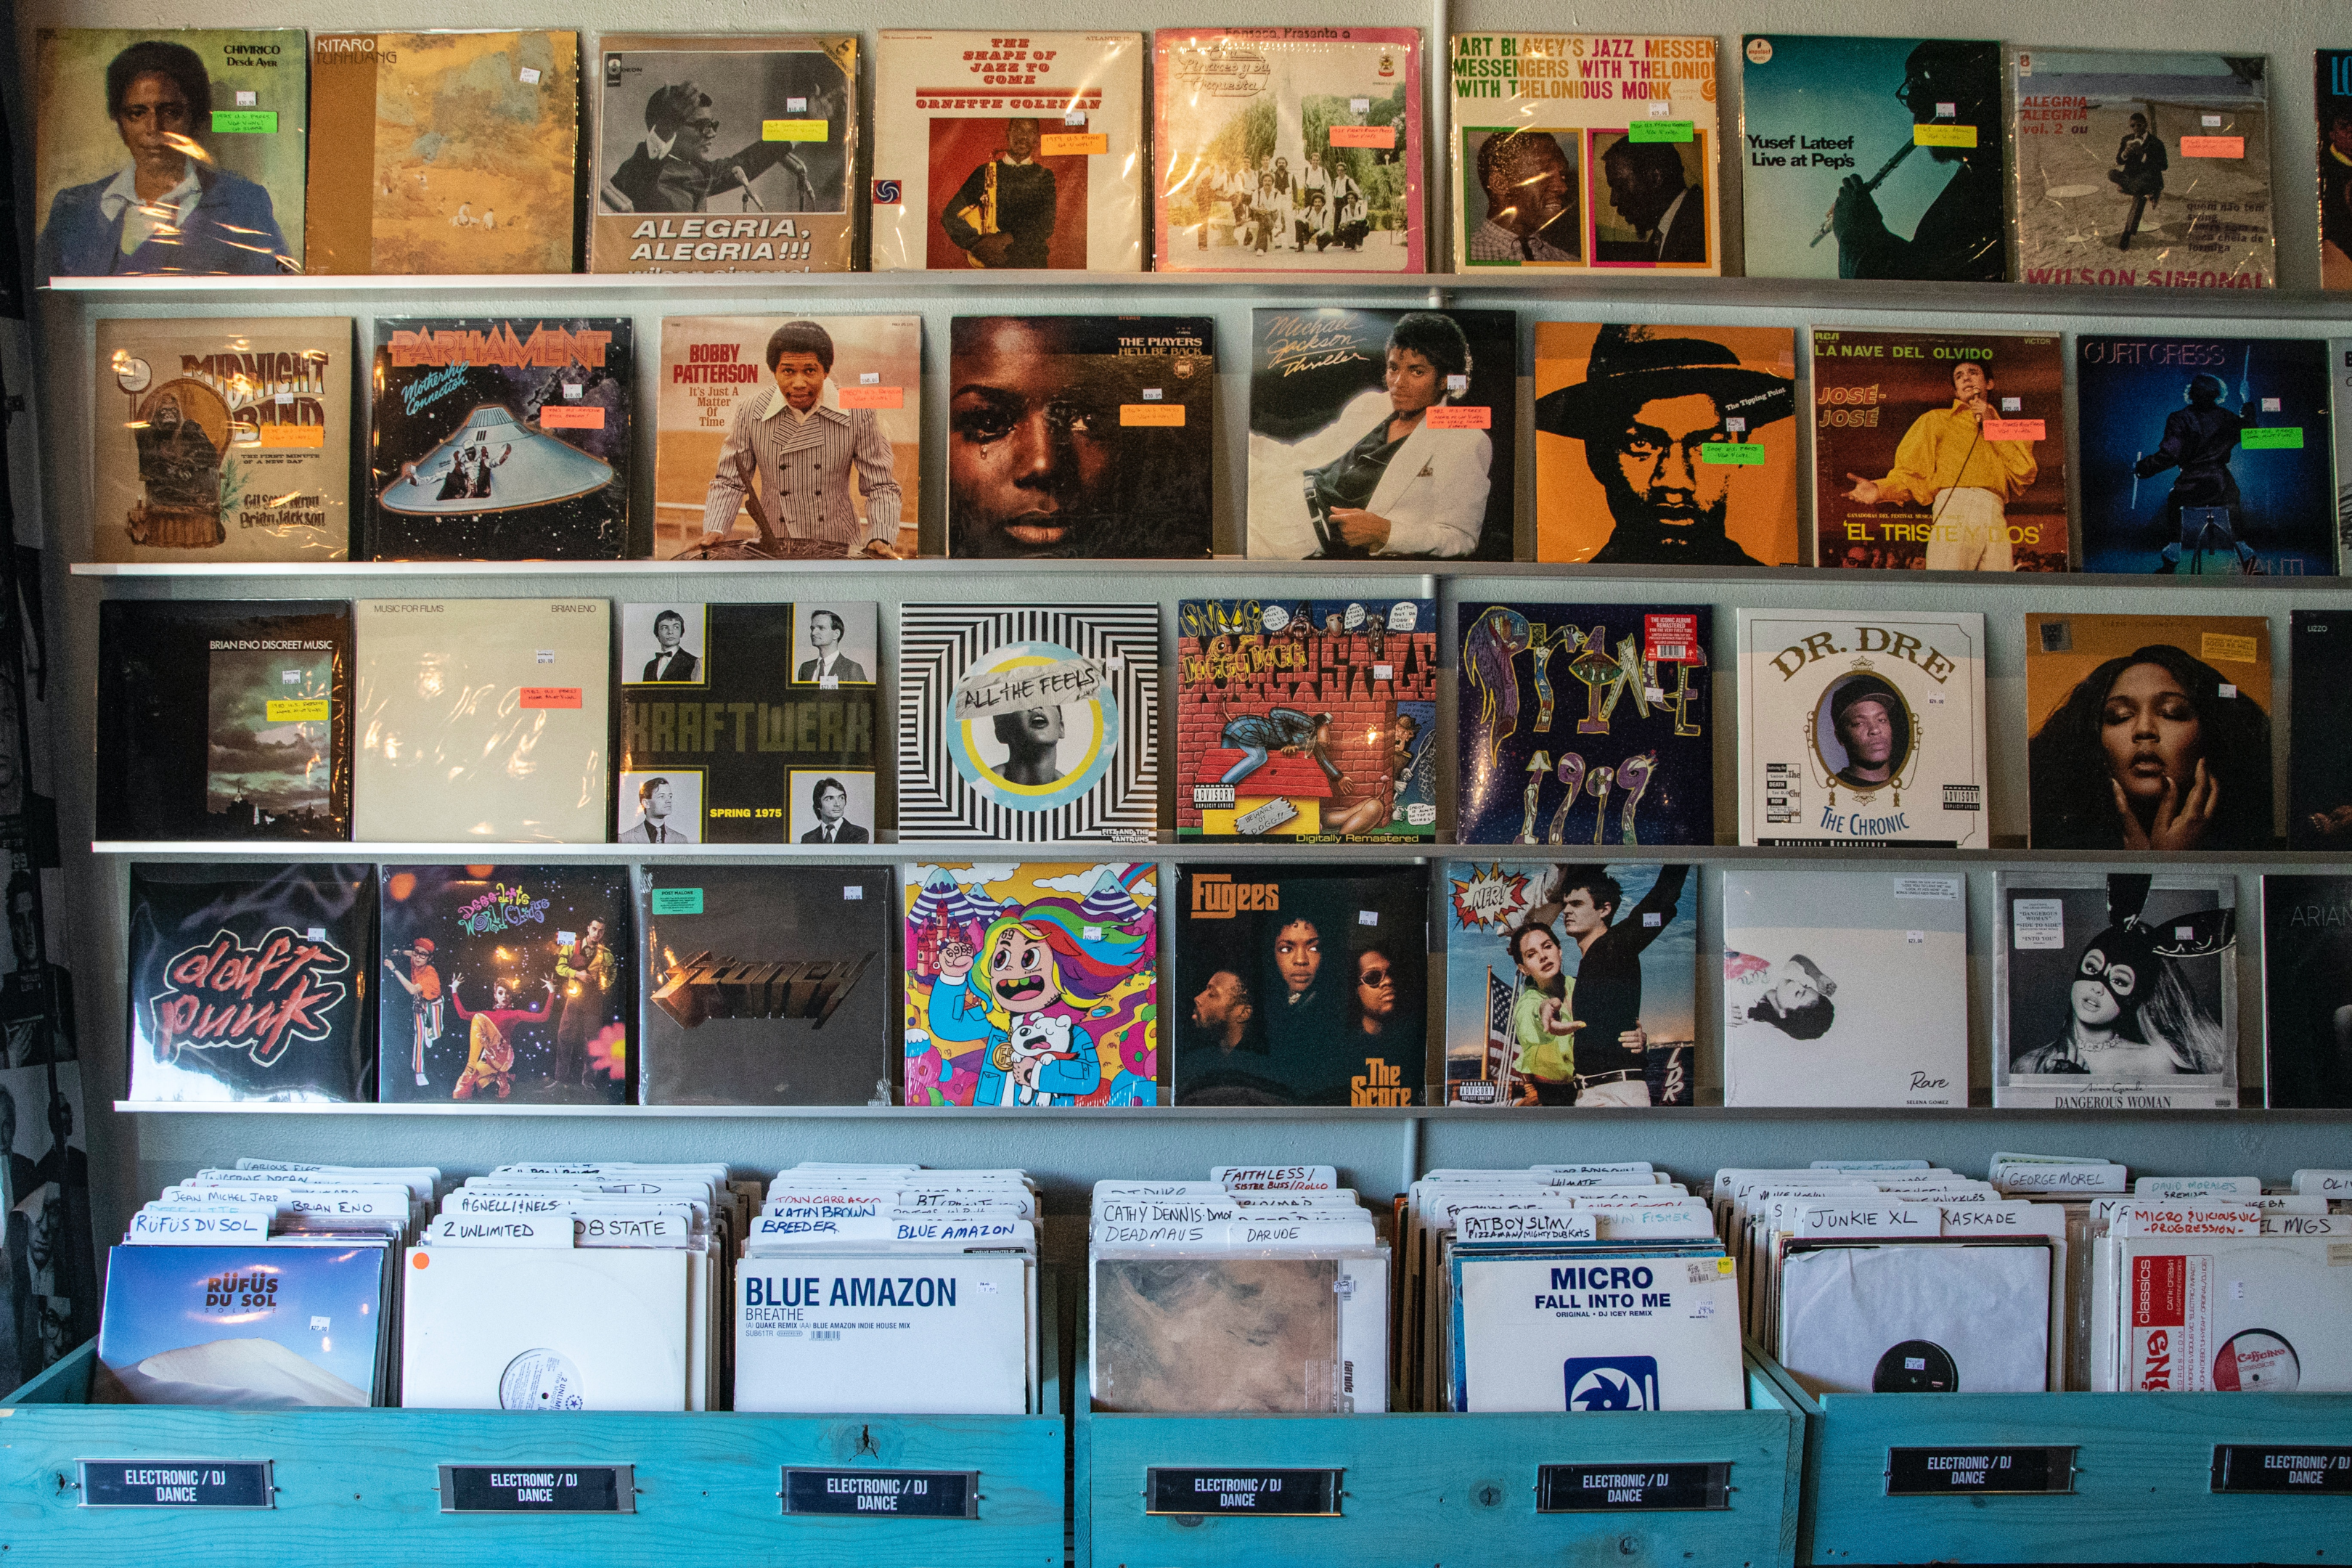
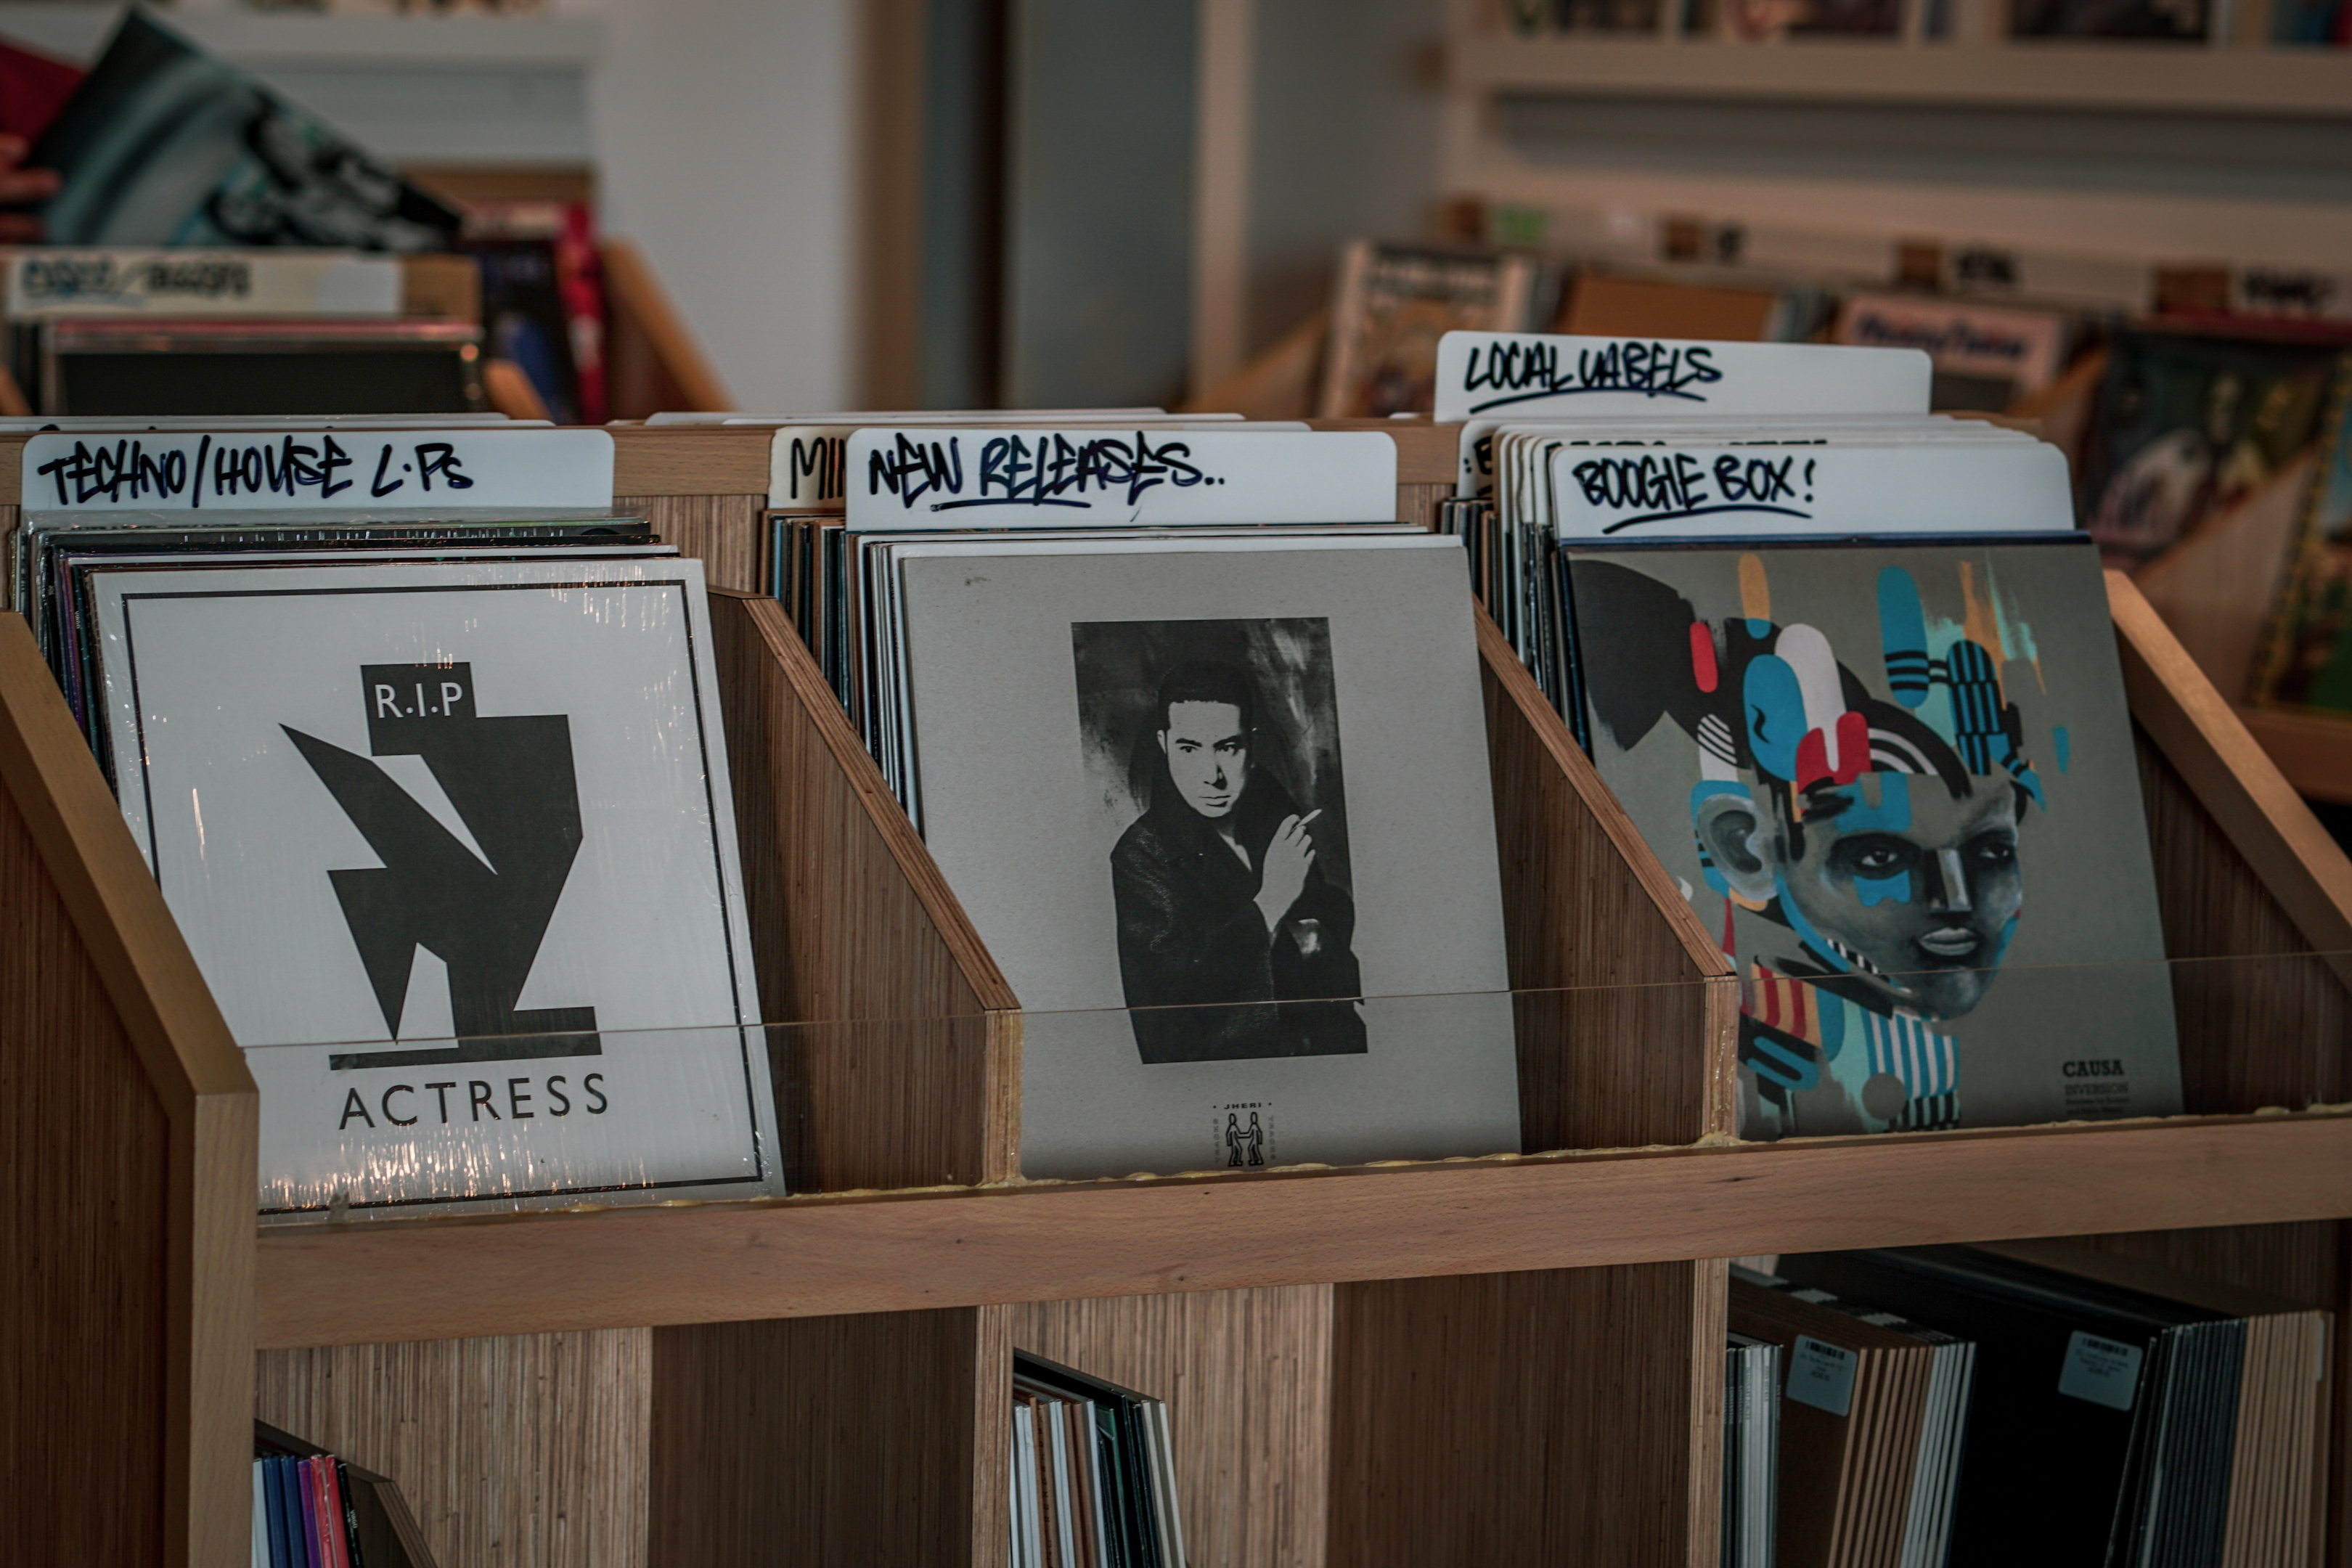
Organizing Your Vinyl Record Collection
After building your DIY vinyl record storage system, it's time to organize your collection. Decide on a sorting method that works best for you, such as alphabetization, genre-based sorting, or chronological order. By organizing your records, you can quickly locate and enjoy your favorite albums without any hassle.
Maintenance and Care
Regular maintenance and care are essential for preserving the quality of your vinyl records and the longevity of your DIY storage system. Clean your records regularly using a vinyl record cleaning solution and a soft brush. Dust the shelves and frames to prevent any buildup. Additionally, ensure that the storage system is kept in a clean and dry environment to avoid any potential damage.
Also check out: Unleash the true potential of your vinyl collection with the power of a vacuum record cleaner! Say goodbye to pesky dust and debris that compromise sound quality and diminish your listening experience. Discover how these incredible machines can revitalize your records, extend the life of your stylus, and bring your favorite tunes back to life. Dive into the world of vacuum record cleaners and unlock the full potential of your vinyl treasures. Explore the power of vacuum record cleaners in removing dust and debris in this informative article.
Conclusion
Get ready to embark on an epic journey into the realm of DIY vinyl record storage systems! Brace yourself for a project that not only protects and showcases your beloved vinyl collection but also unleashes your creativity and personal style. With these step-by-step plans as your trusty guide, you'll be well-equipped to craft a storage solution that's uniquely tailored to your needs. Once your masterpiece is complete, get ready to organize your records like a pro, ensuring easy access to all your favorite tunes. And remember, the care and maintenance of your records are paramount to ensure their exceptional sound quality and longevity. So, crank up the volume, immerse yourself in the process, and relish every moment of building and organizing your very own vinyl record storage system.